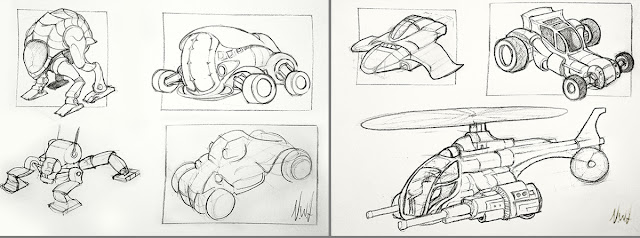
This is a page of notes about perspective drawing. It's been a long time since I've drawn anything and so I wanted to complete a quick revision exercise. Hopefully it will get me back into the habit.
My aim isn't to have anything polished or finished atm. I simply want to revise some basic principles.
Here you will find some notes on very basic perspective principles/rules, some quick sketches and an unfinished line drawing along with various links.
Reference links for One Point Perspective:
Reference links for Two Point Perspective
Perspective Drawing in Photoshop
01. Setup
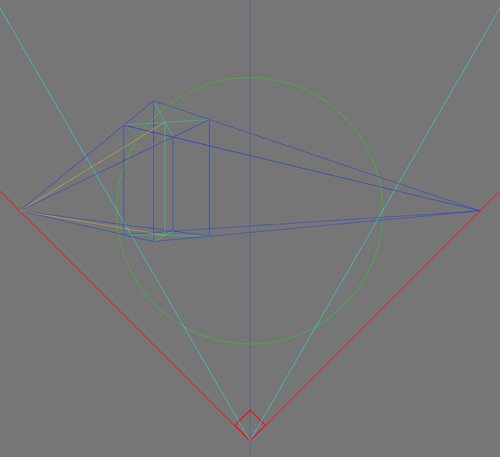
Here is a reference image from chasrowe.com showing a two point perspective system with a station point(90 degrees) and a cone of vision(60 degrees).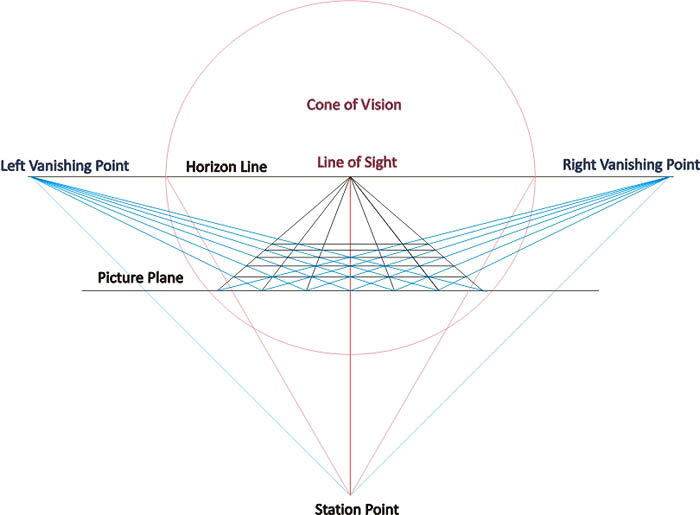
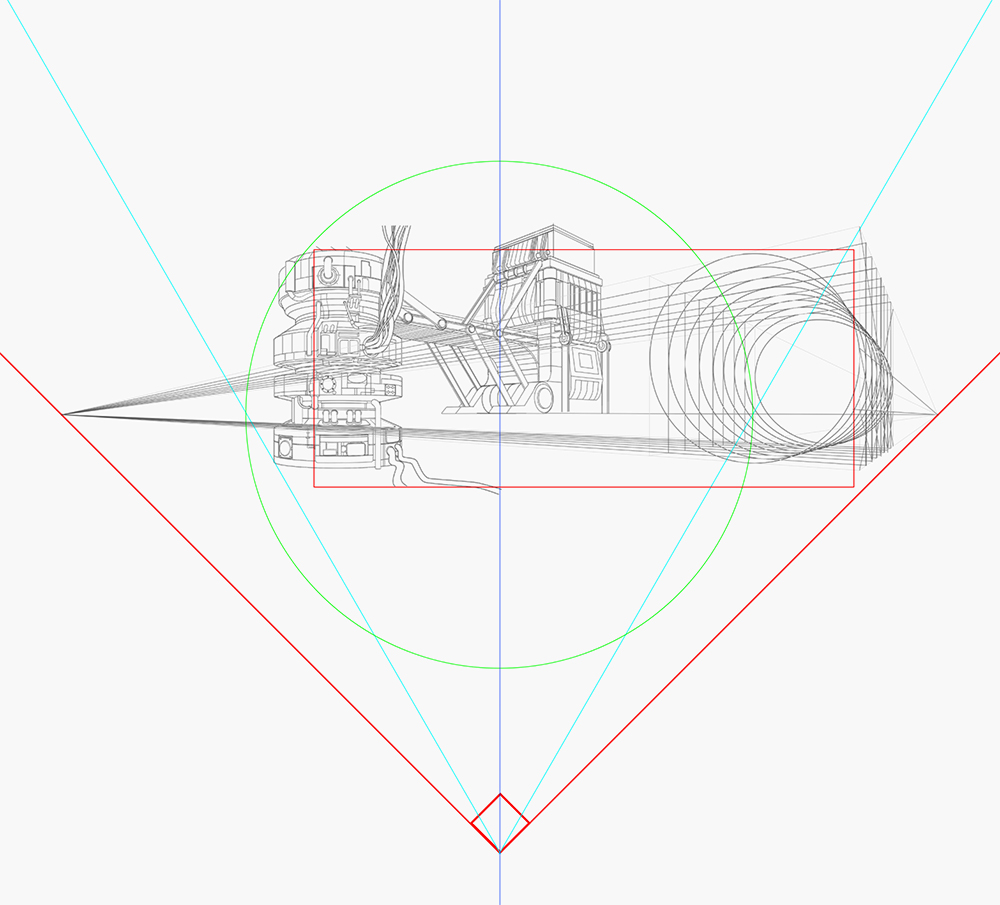
My version:
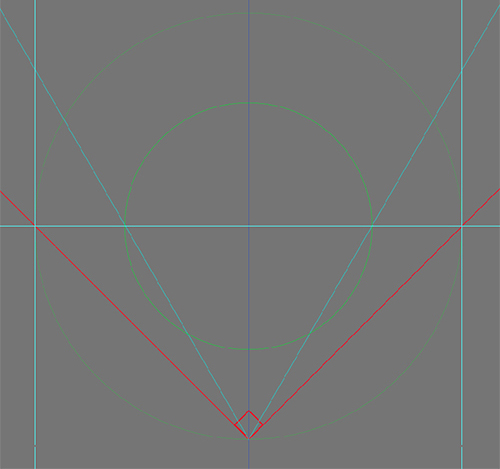
- Red Square= station point (with 90 degree lines extending to Vanishing Points)
- Green Inner Circle= Cone of Vision (60 degrees - minimal distortion)
- Light Blue Horizontal Line = Horizon
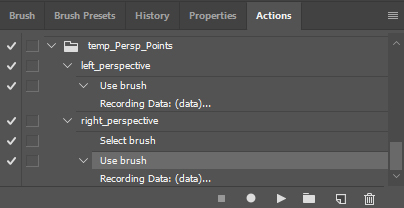
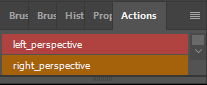
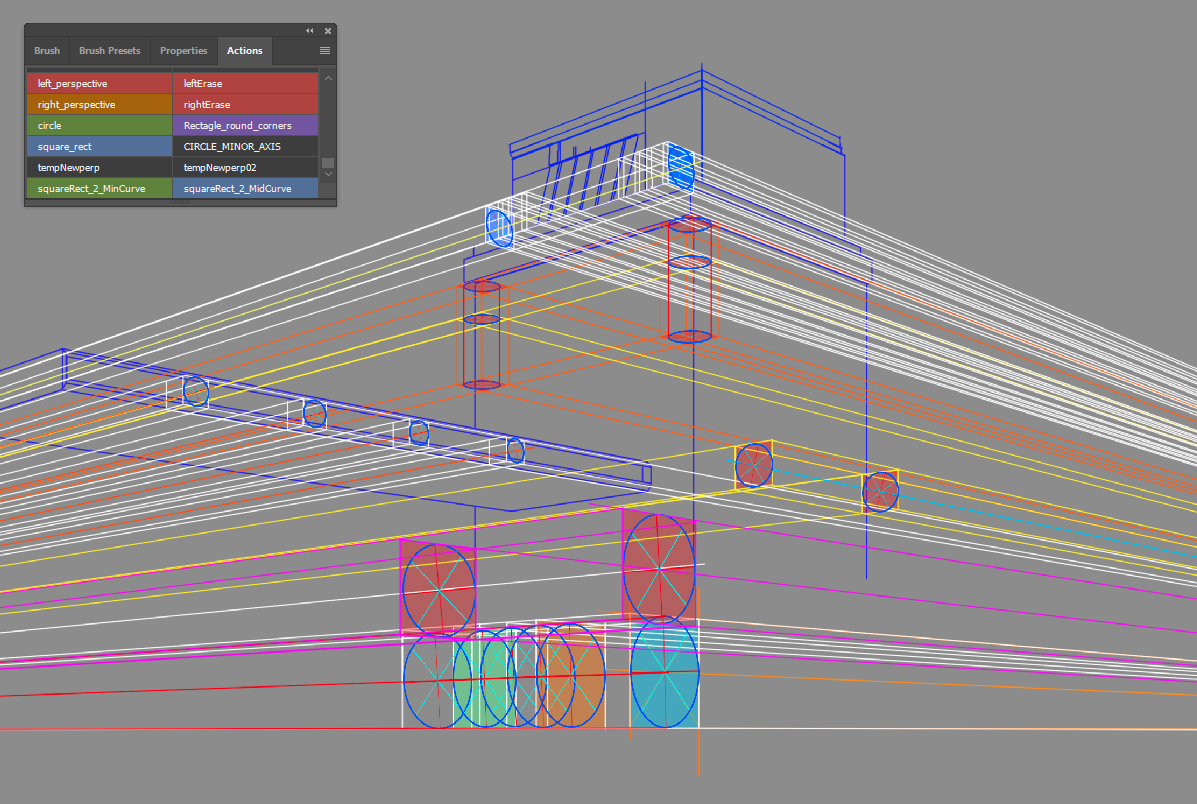
I created some actions for the repetitive placement of the left and right vanishing points. This allows me to zoom in on a particular section and create the perspective line with a shift/click. I also made an erase action.
02. Ellipses
Here are some links and notes on ellipses that, in turn, can be used to create squares in perspective.
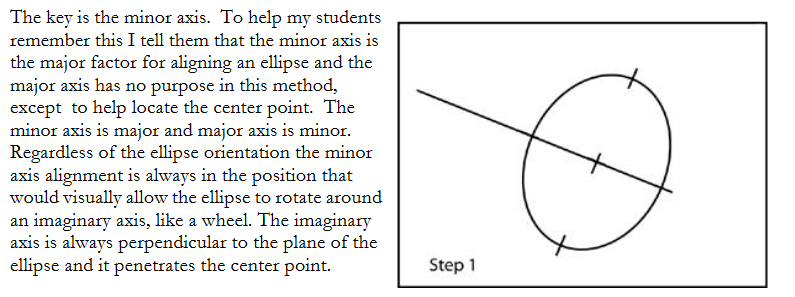
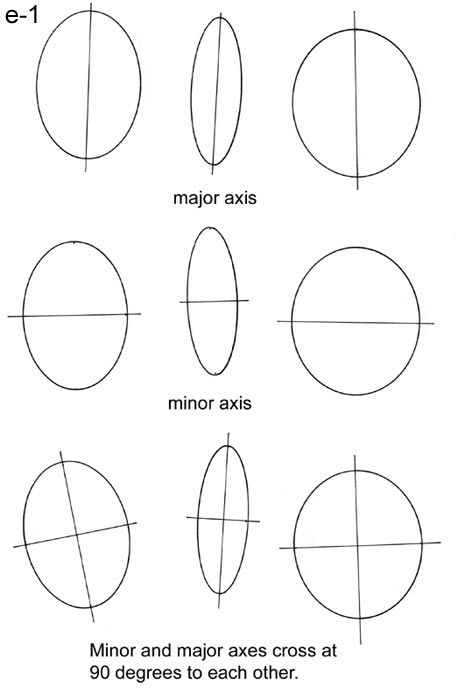
Reference sourced from: The Bad Ellipse: Circles in Perspective - The Minor Axis is the Key
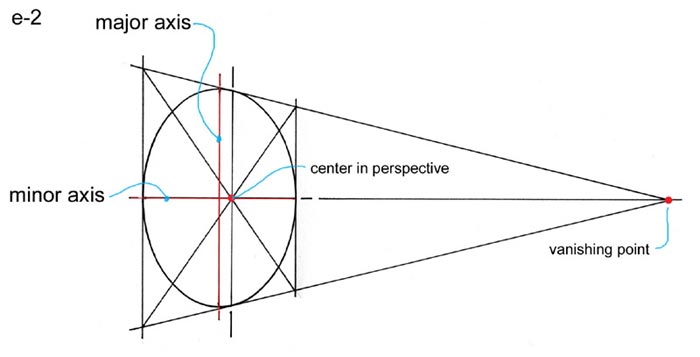
The following images were sourced from Here (sfsu.edu - Scott Robertson & Neville Page):
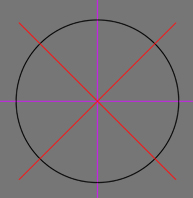
With this in mind we can create a circle with the minor and major axes.
When we work digitally we can squish the circle into an ellipse, which is just a circle in perspective, with the minor axis pointing towards a vanishing point and the edges of the circle touching as shown in the above image, directly above/below the circle mid point or along a perspective line extending from the mid point.
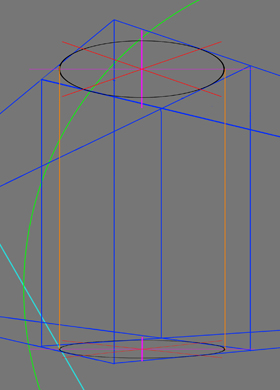
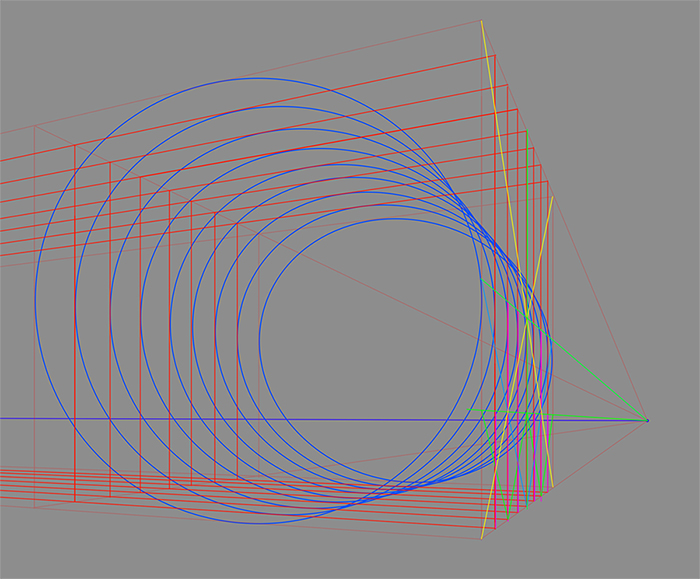
Close to, or outside of, the cone of vision distortion will cause alighnment issues. My cylinder extends out past the COV.
Here is a link to a video by Irshad Karim describing how to do this.
The Cube by itself:
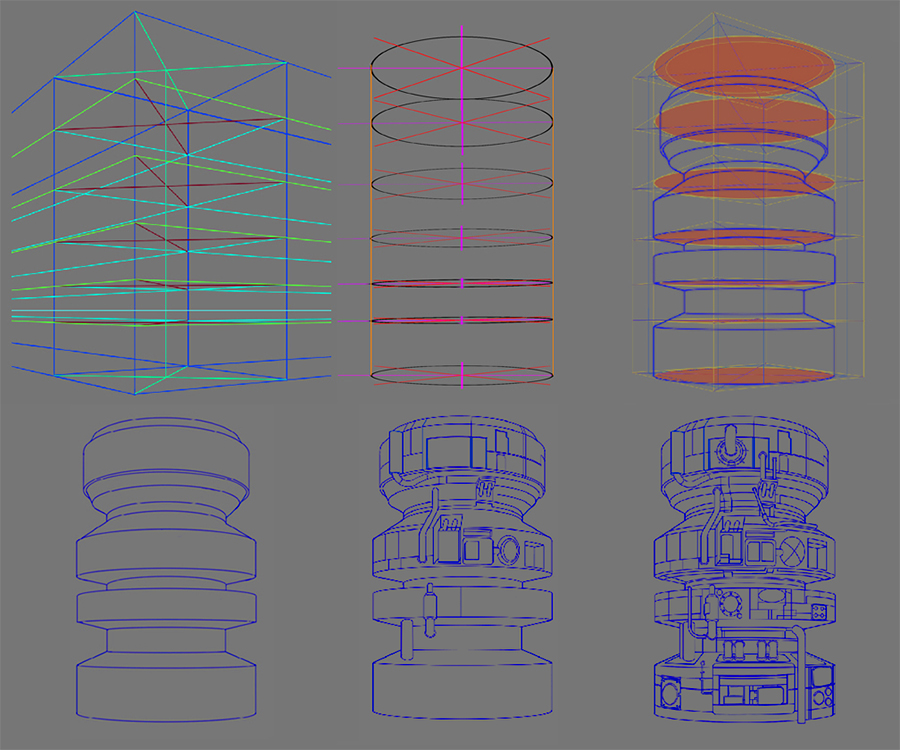
Adding more ellipses to create a cylinder and using this "scaffolding" to rough in some shapes.
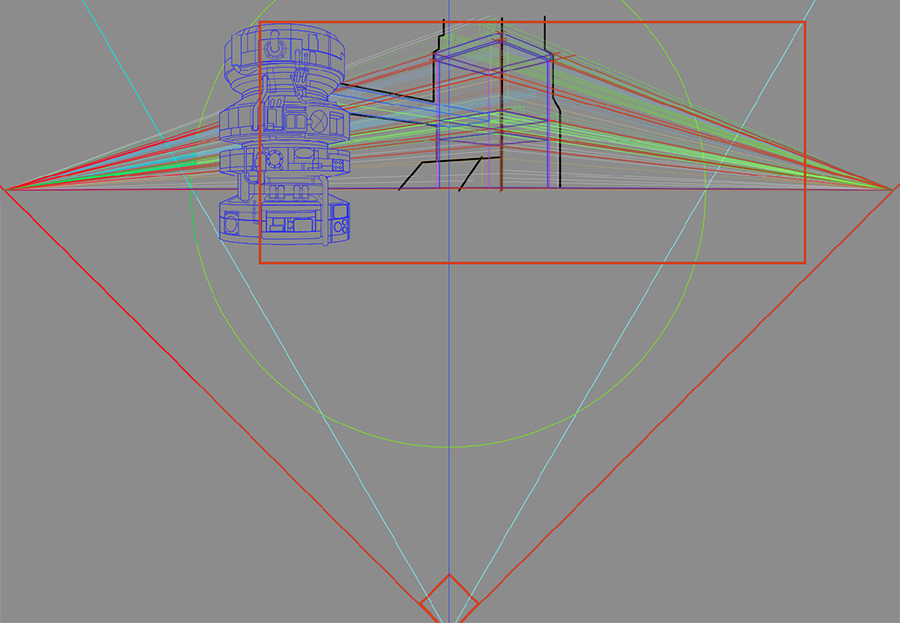
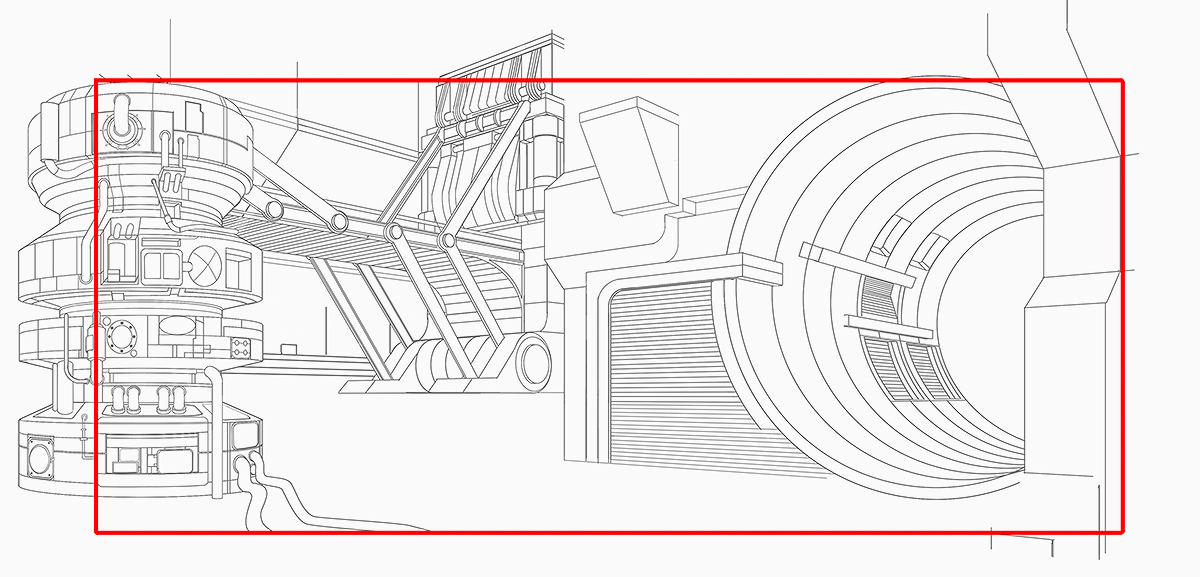
Adding some background Mech/Tech Stuff. I think it will be a walkway. I also defined the frame region. Normally its best to frame a region far inside the cone of vision however, as I want to experiment a bit, I've extended the scene beyond this region.
Exploring some shapes with ellipses. Note the direction of the minor axis:
Exploring more shapes:
Forms extracted from construction lines:
Adding a science fiction tunnel outside the cone of vision. (note: I added some wires and tubes to the cylinder but didn't like them)
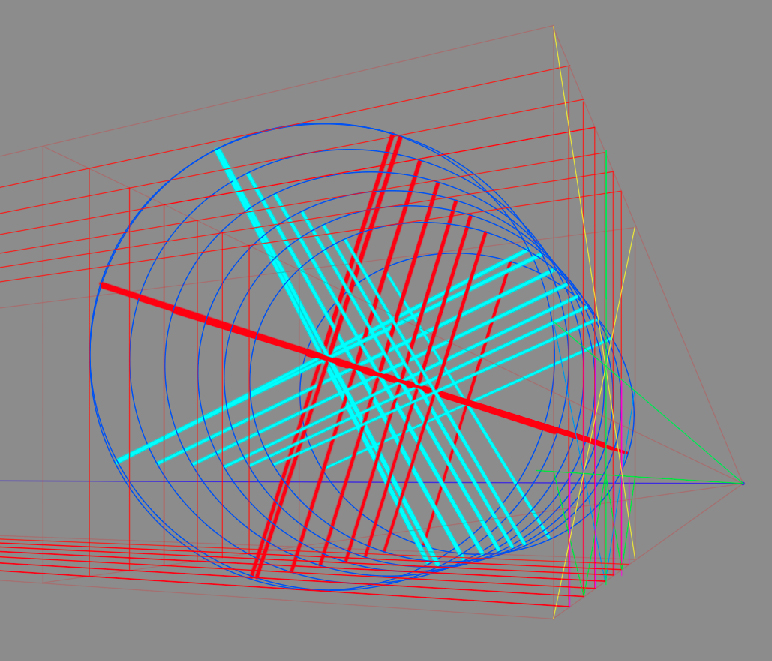
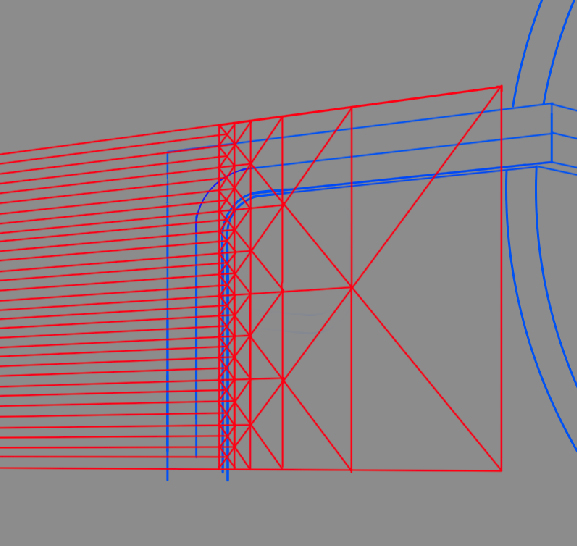
Simple cross lines to obtain an even spacing. Note the direction the the minor axis in red.
Creating evenly spaced lines
Some mechanical objects:
I"ll take some progress photos and see what works and what doesn't. I'm interested to see if creating constructions, lines as rough guides, is helpful.
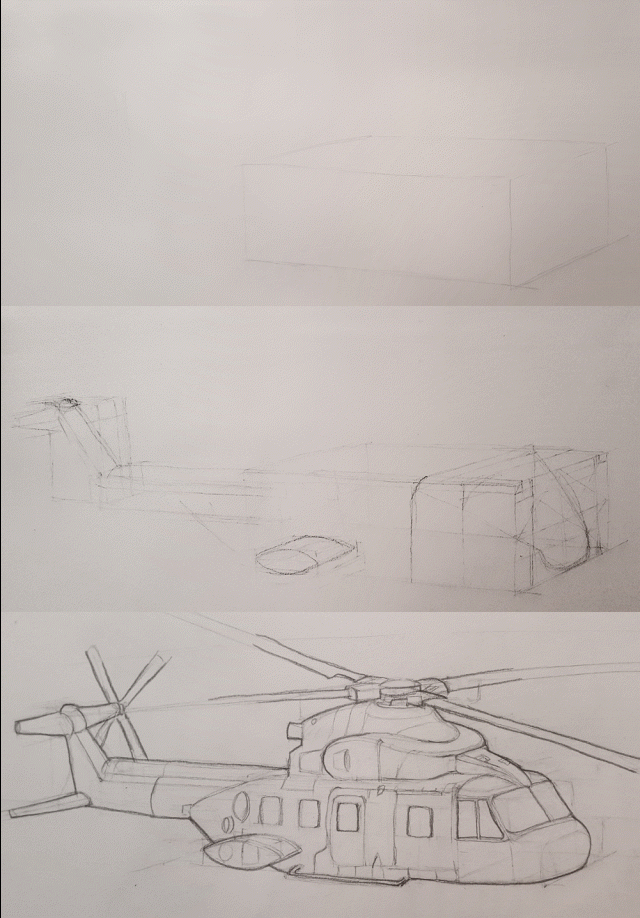
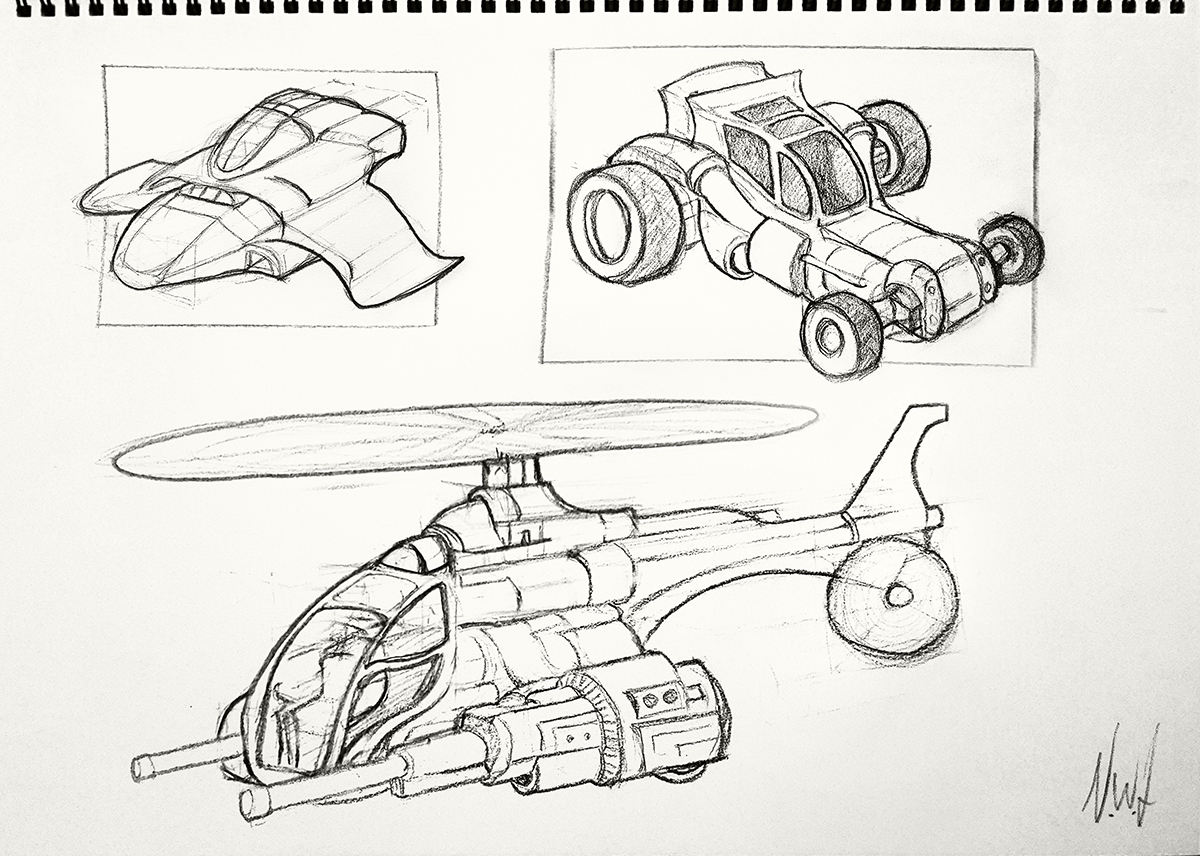
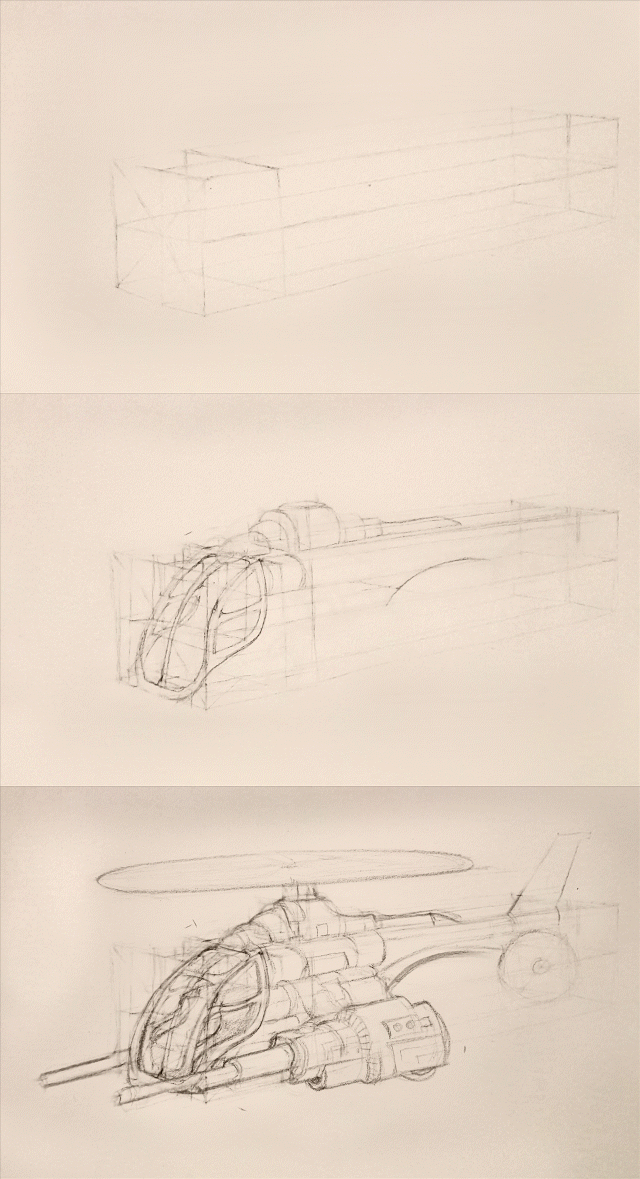
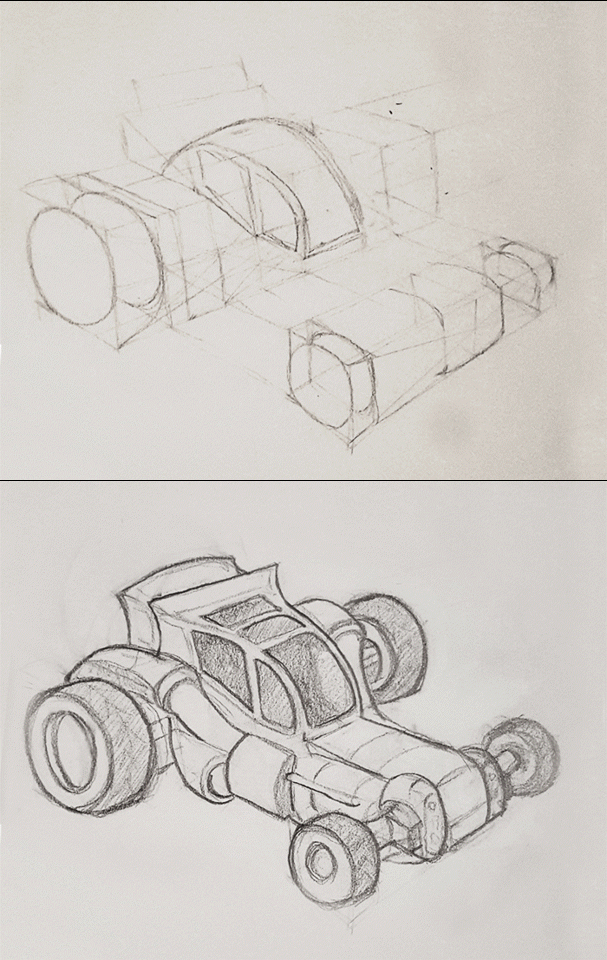
First a helicopter created by sketching a box and adding construction lines - like chipping away at a block of marble:
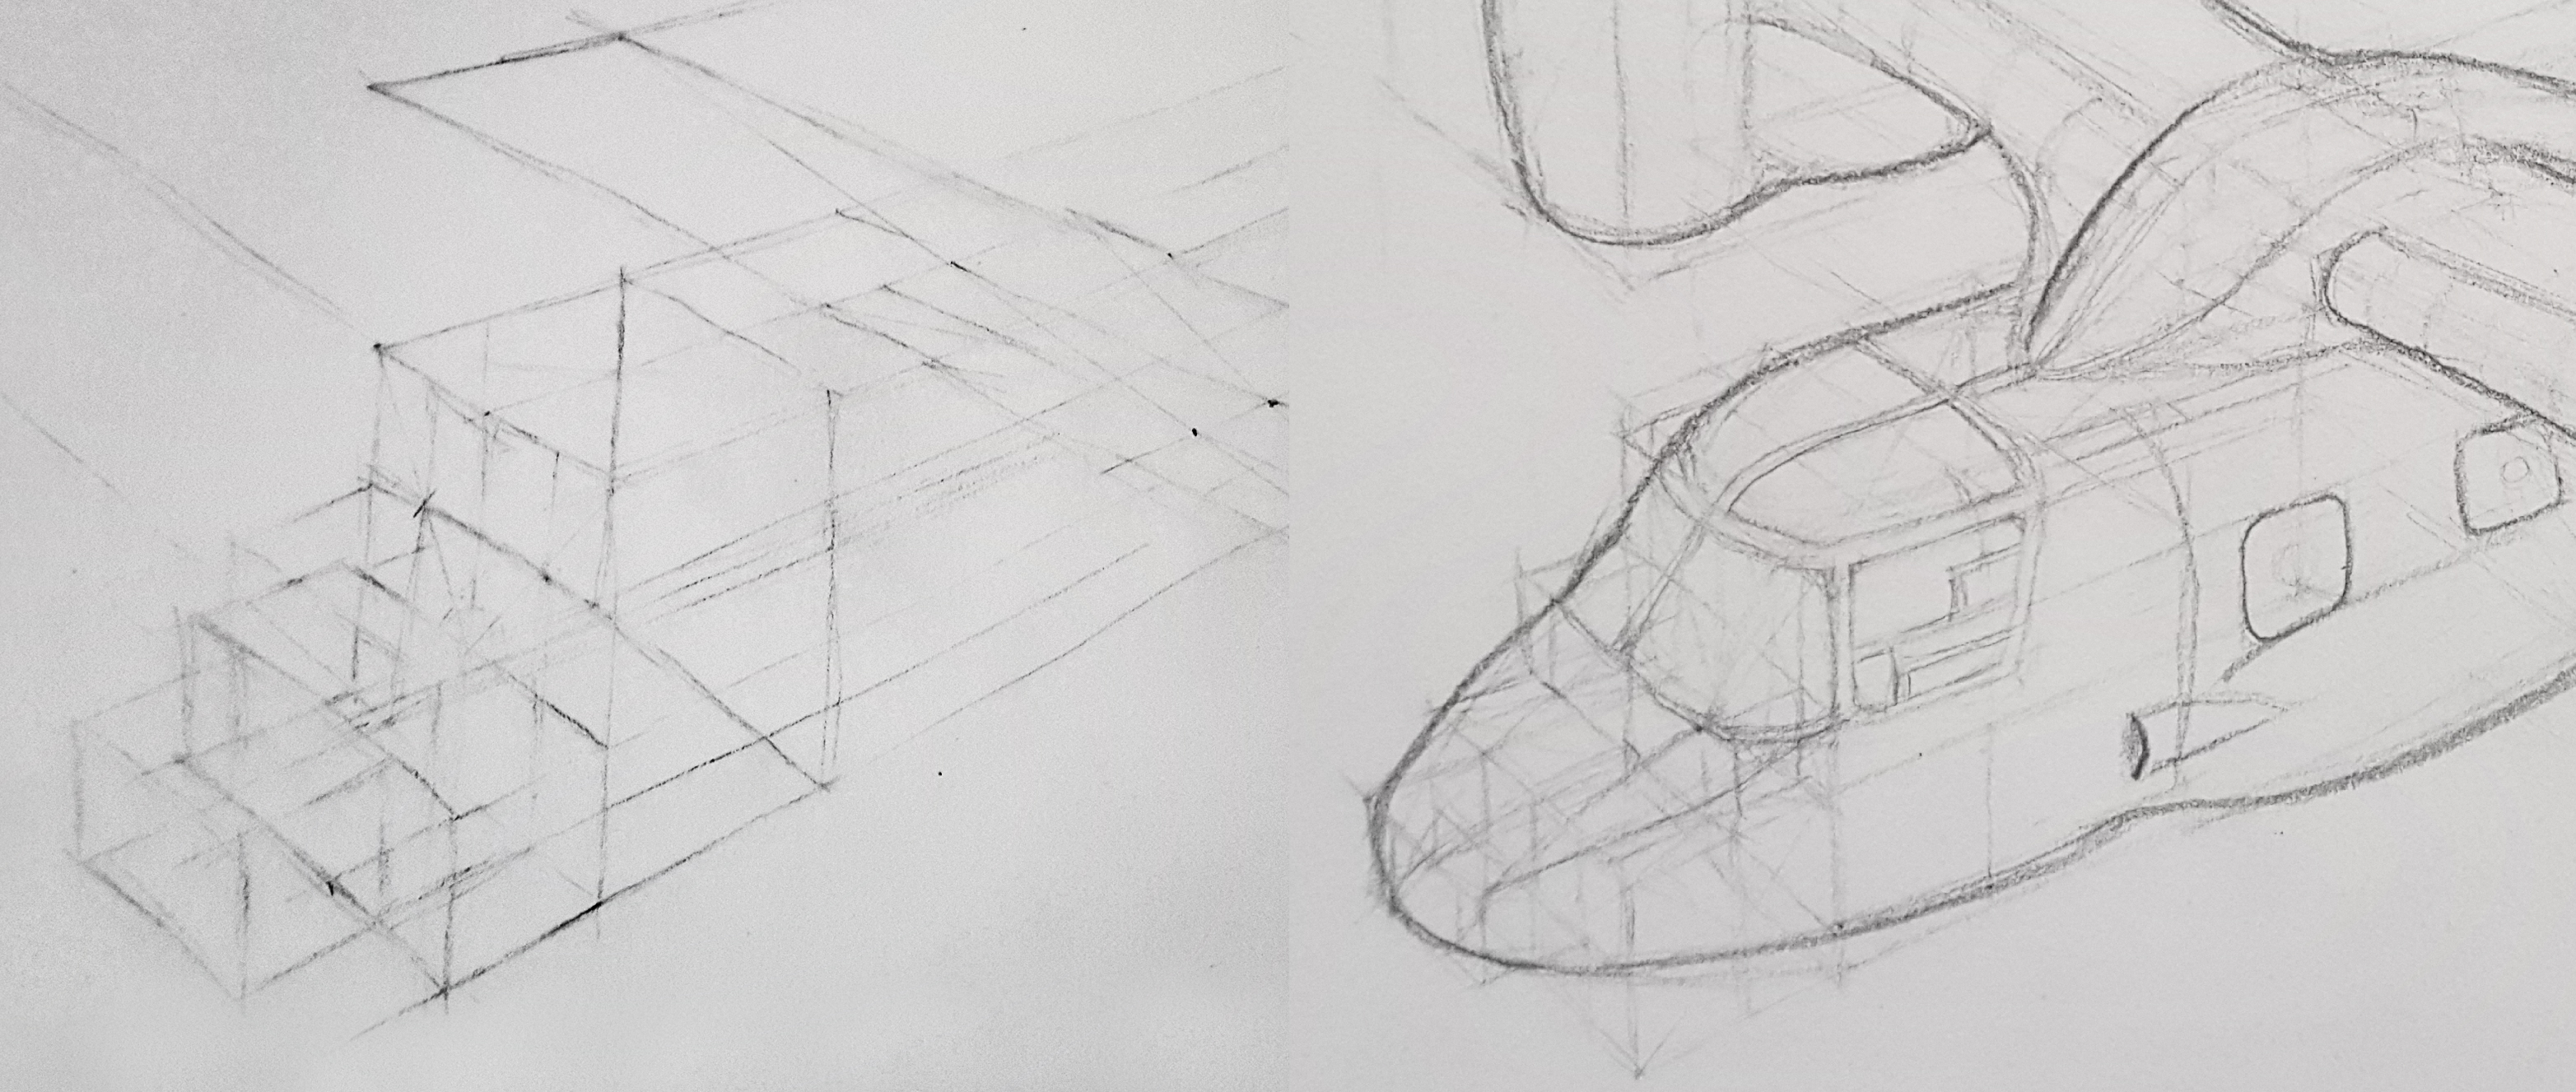
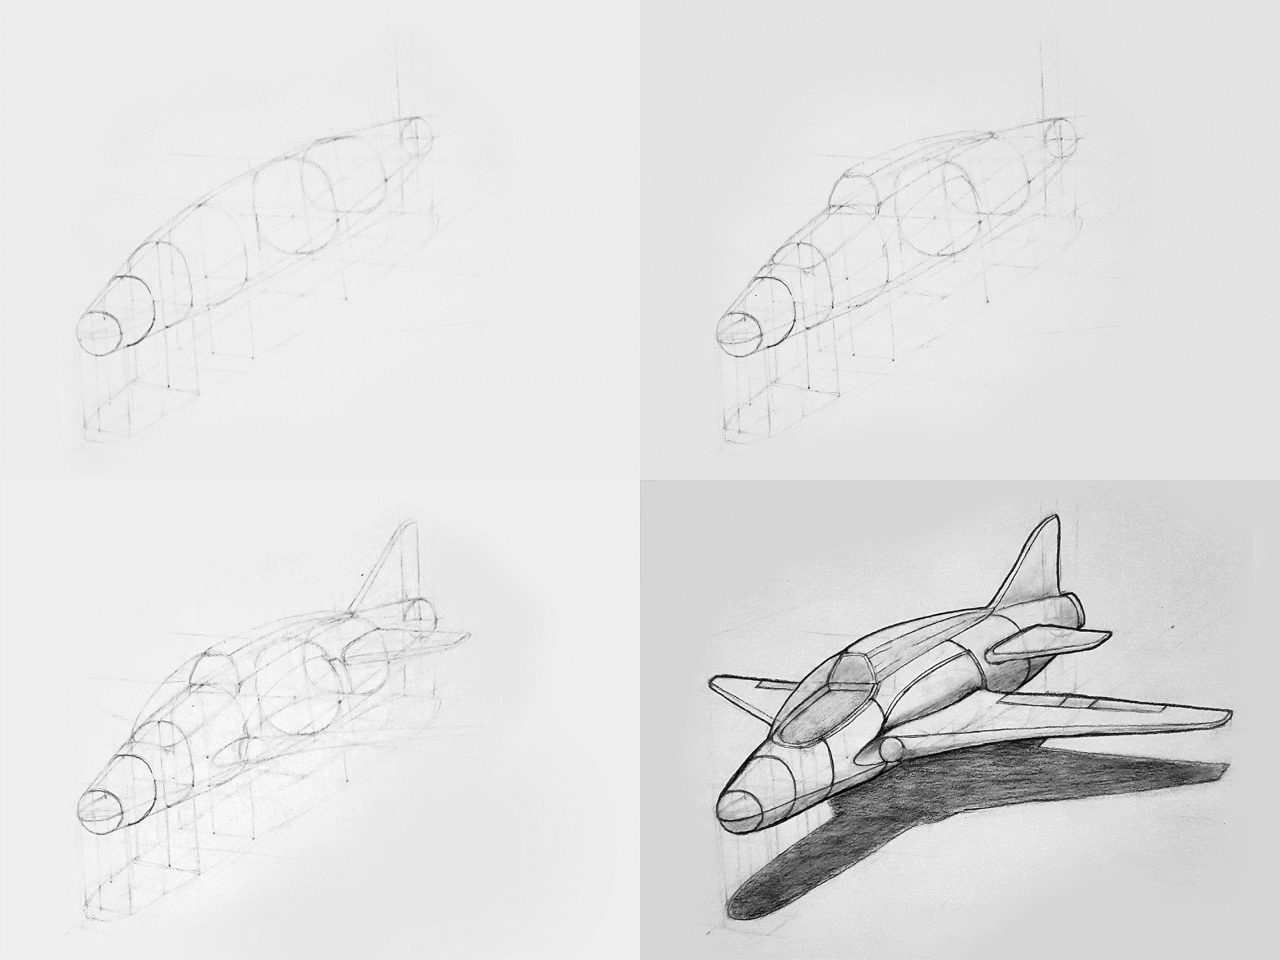
Next airplane sketched from a bunch of sketched boxes with the aim of finding placement points for curves.
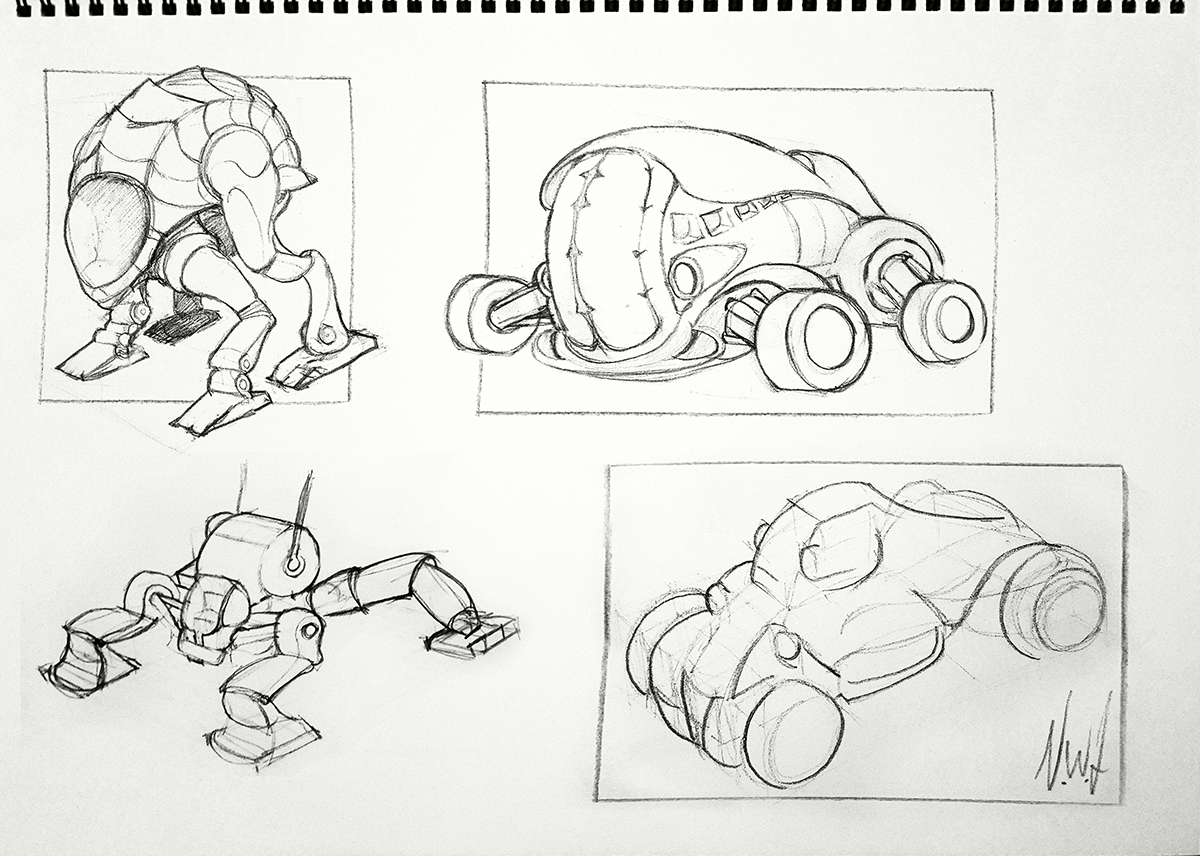
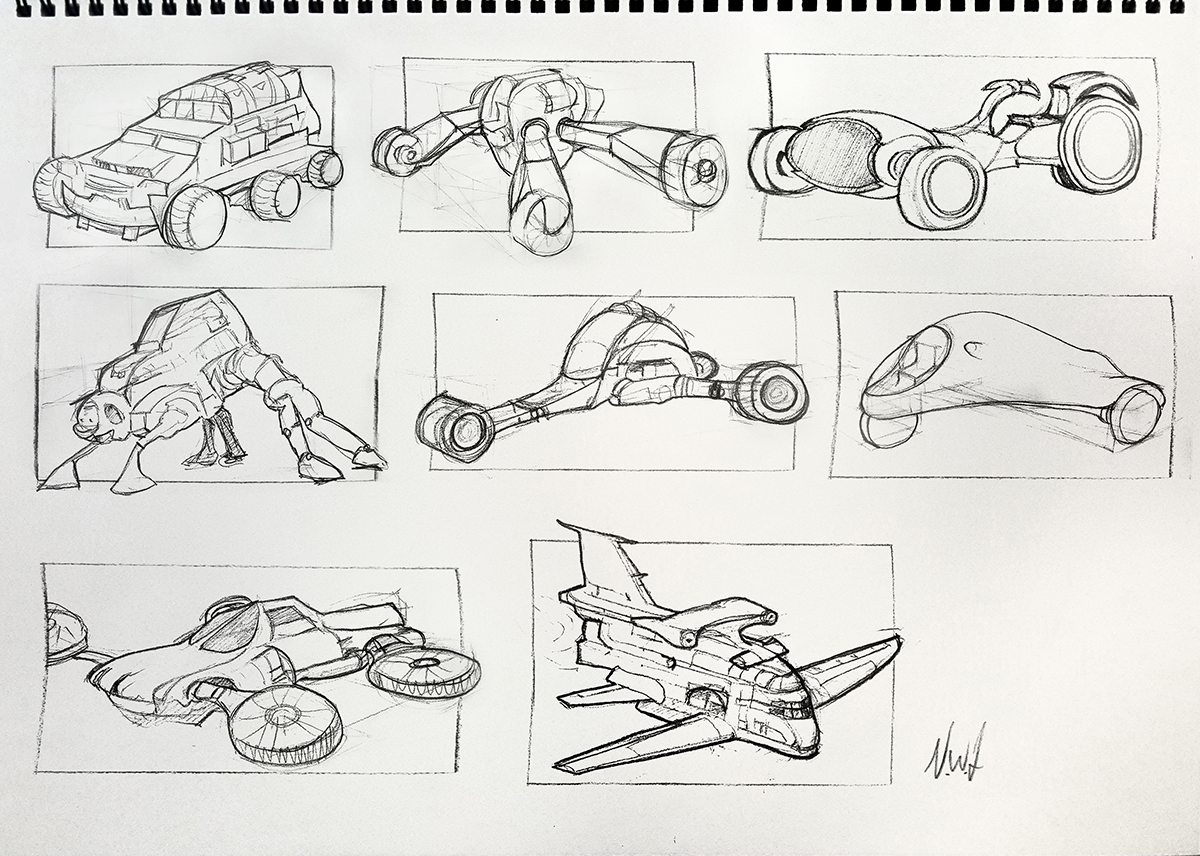
Some very quickly sketched ideas drawn from an initial box.
Page 1:
Page 2:
Page 3:
Some progress shots complied as animated gifs:
Note: I was a bit lazy with my ellipses and didn't stick to the initial structure at the front. Consequently things look a bit off.
Another way to perspective freehand sketch is from the inside out. Scott peterson is a master at this technique. Check his site out here:
Scott Peterson on YouTube
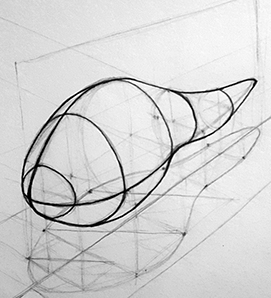
This feels like modeling in 3D and starts from a basis of what, in 3D, would be called image planes for side and top views. The side view is therefore drawn along the center line and the top view on the ground plane. Positional co-ordinates are then plotted and mirrored to the other side via the ground projection. From these positions forms are built.
My first attempt is a tadpole. Note image planes on the center line, running through the center of the tadpole, and on the ground plane.
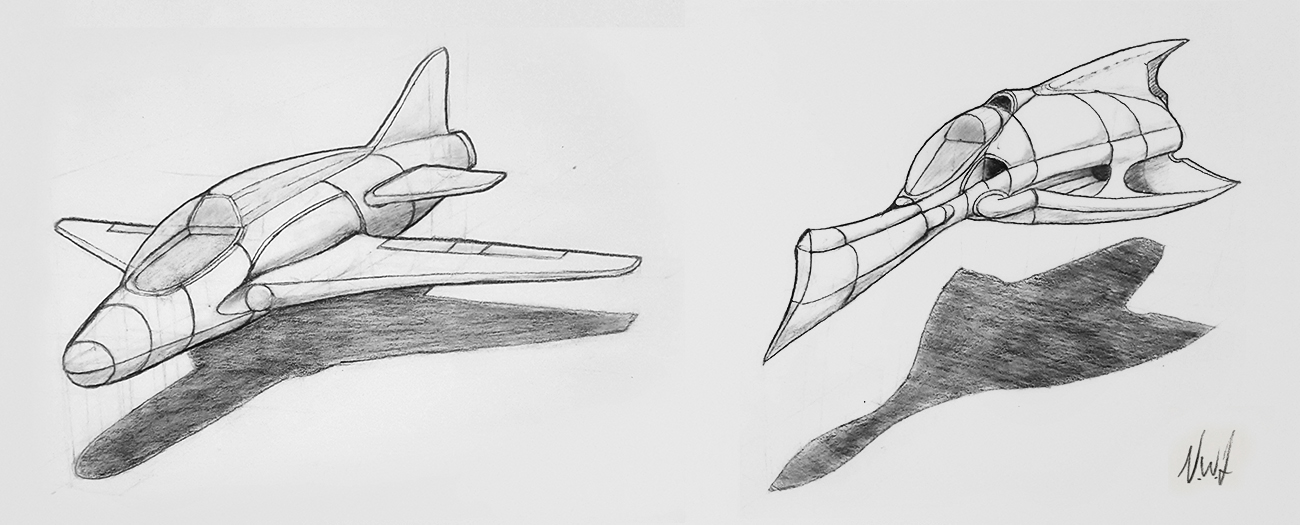
Here is my second attempt - more made up stuff. The front curves of the plane are completely off but I like this process a lot. Practicing straight lines and ellipses should sort out some of the issues.
Page 4:
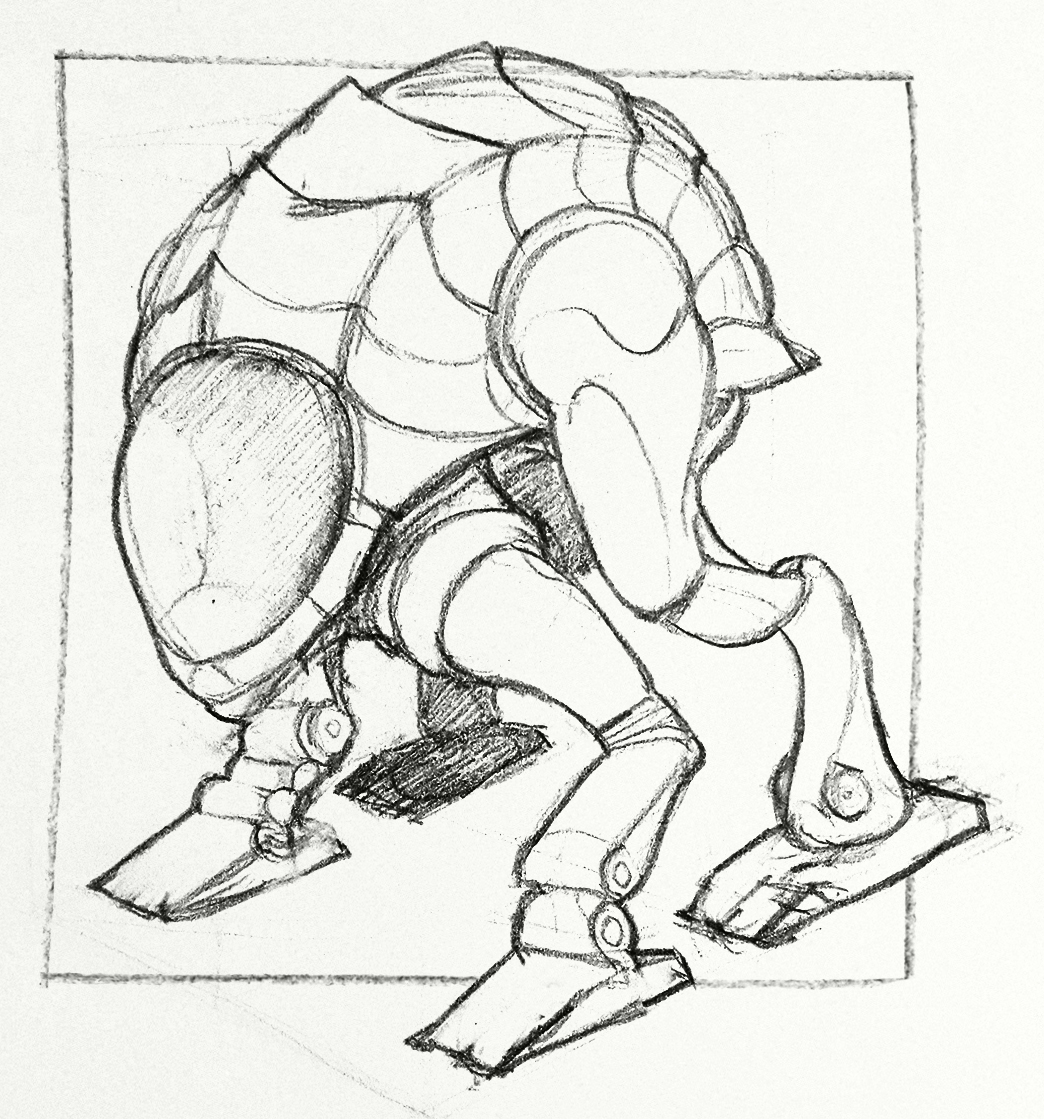
I'd like to choose one and redraw it into the Sci-Fi scene I started with as an experiment.
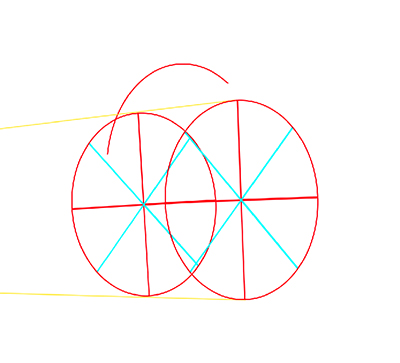
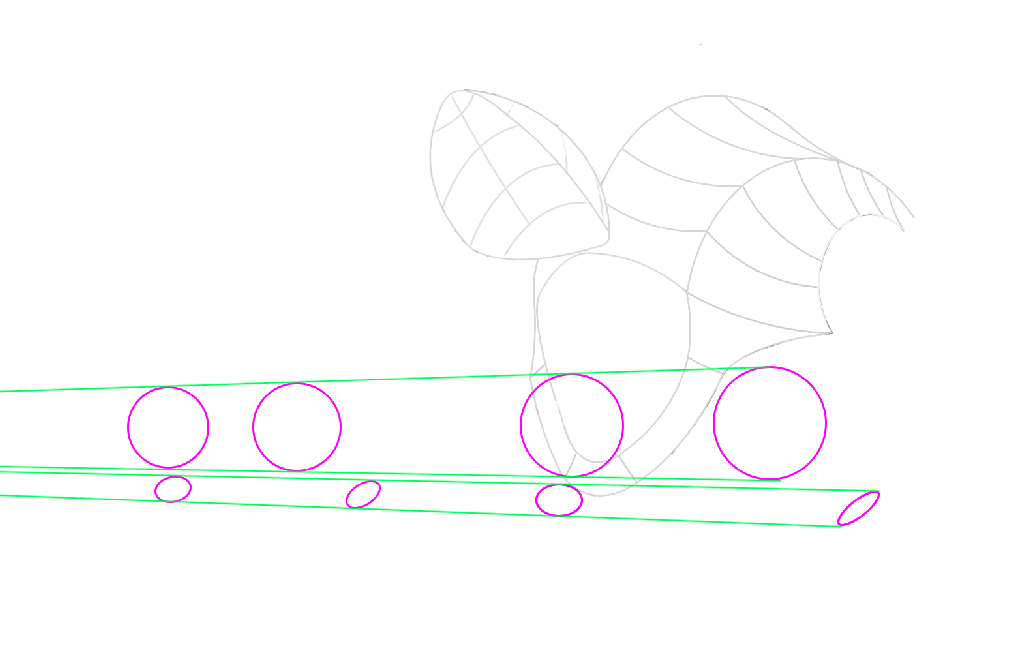
Base shape from circles:
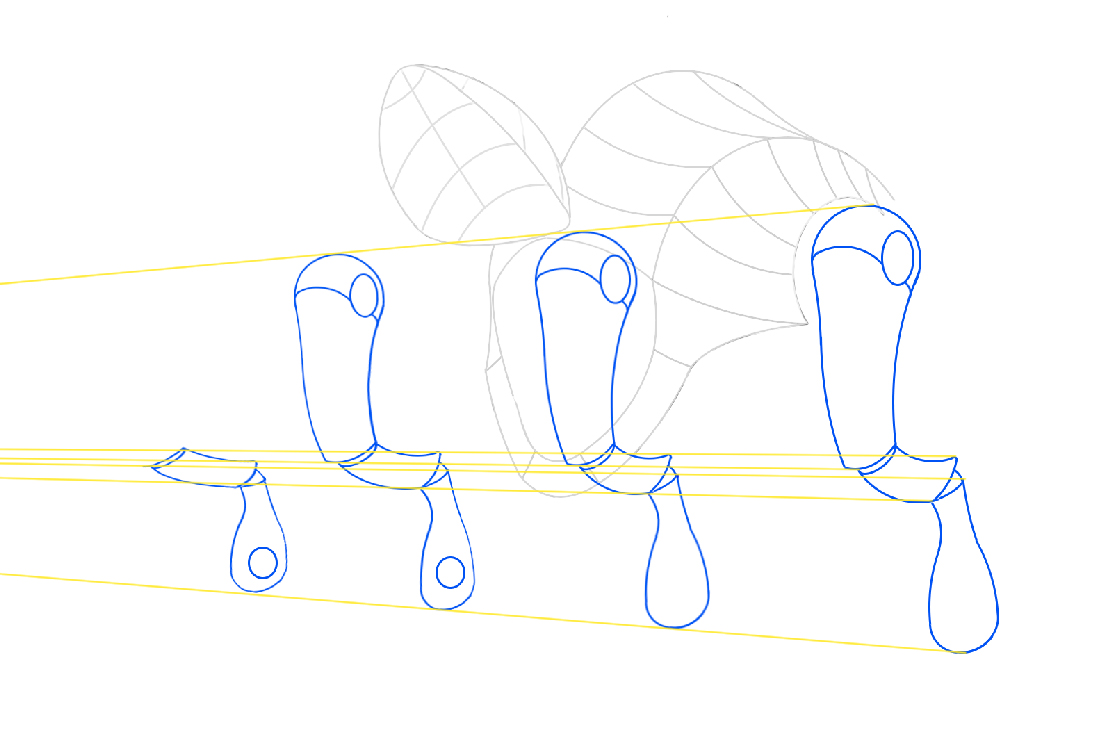
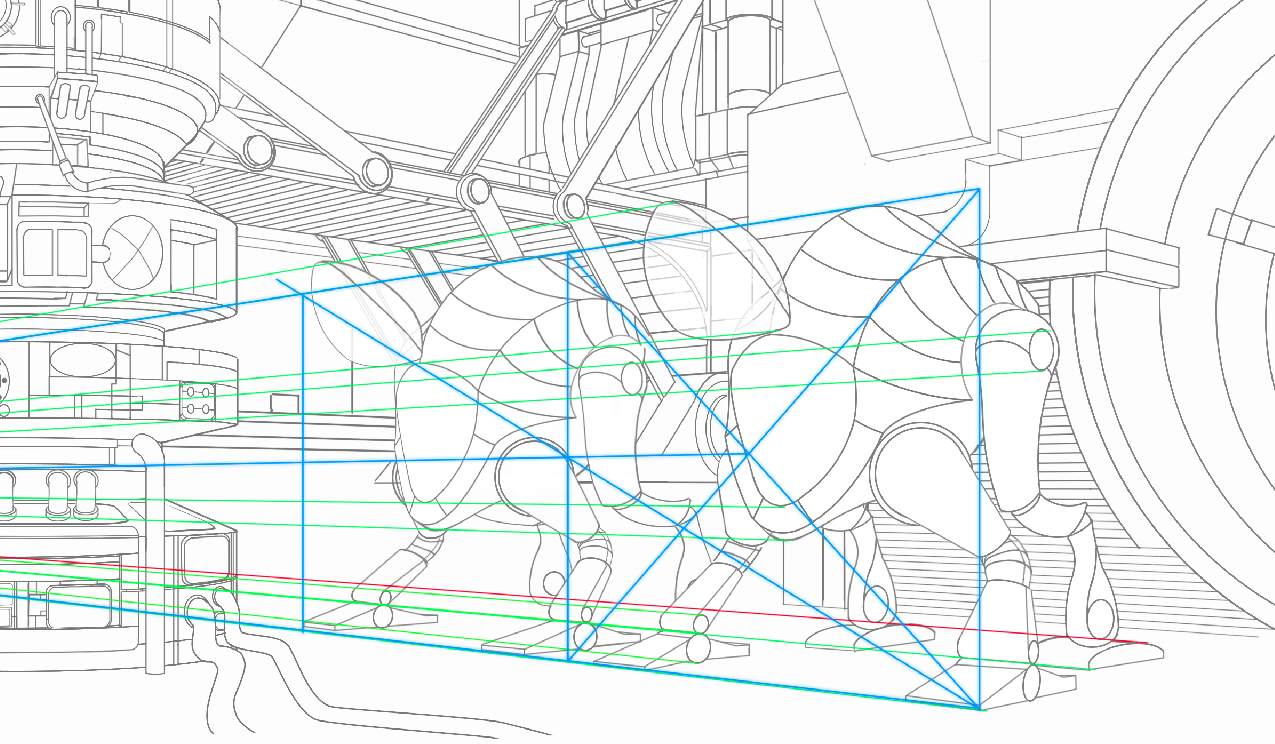
All shapes were multiplied back into the scene:
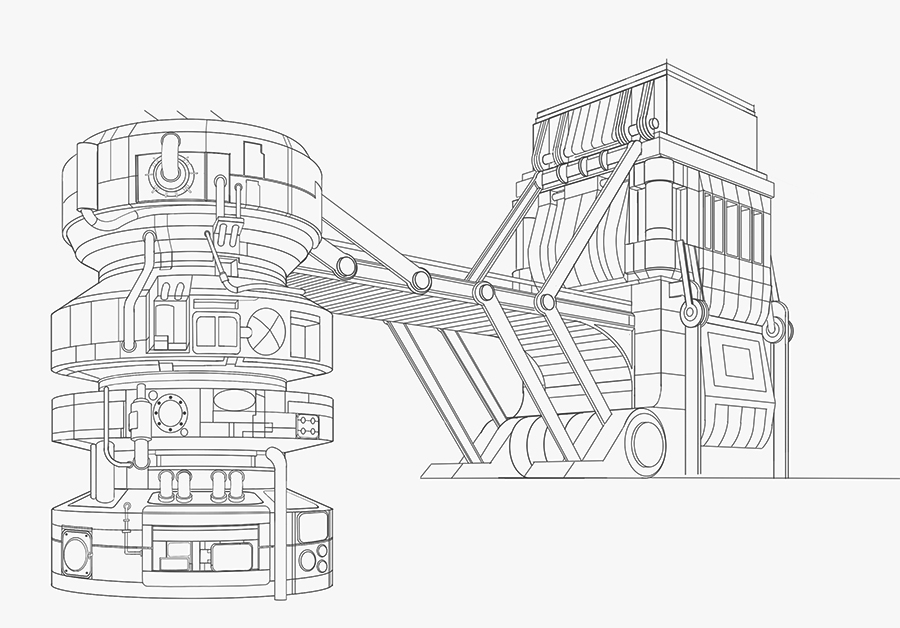
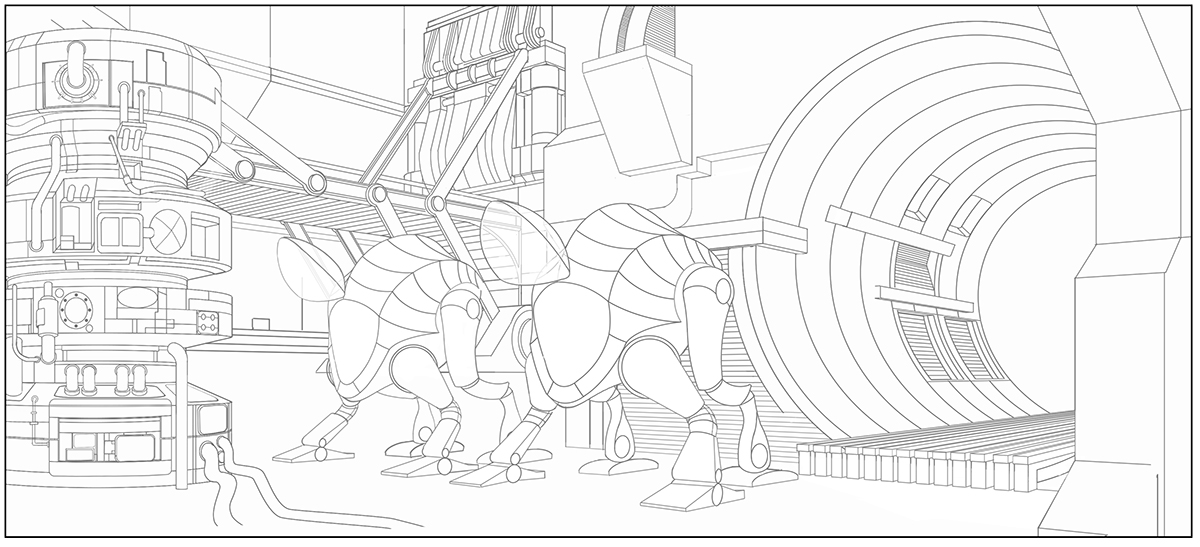
Unfinished Line drawing:
Here is a very old and unfinished life sketch I did - with a warped perspective. This effect can be created by keeping in mind a 5 point perspective system like the one described here:
How to draw in 5-Point Perspective
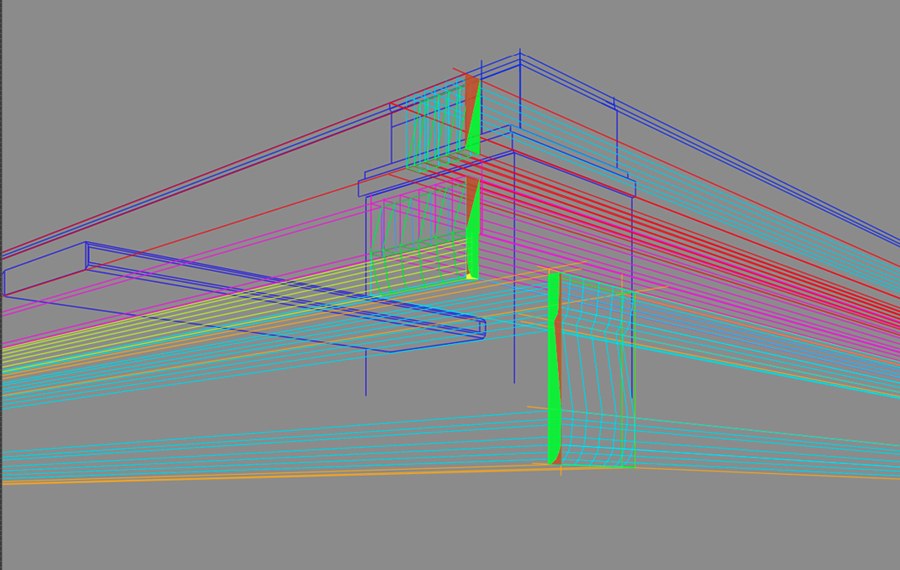
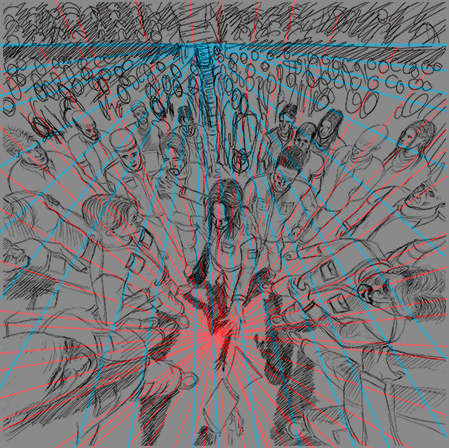
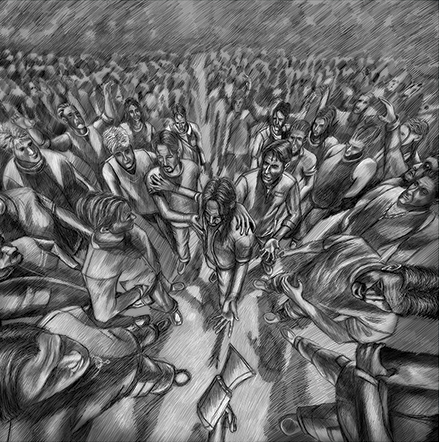
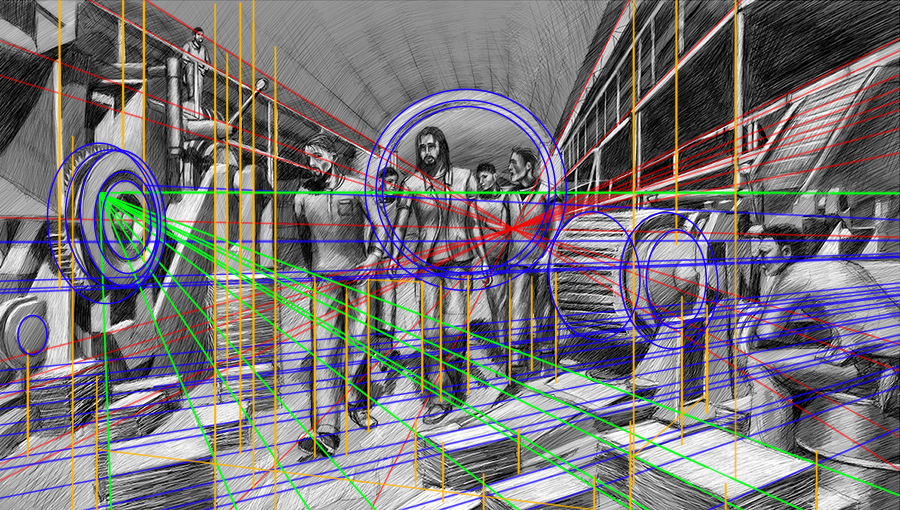
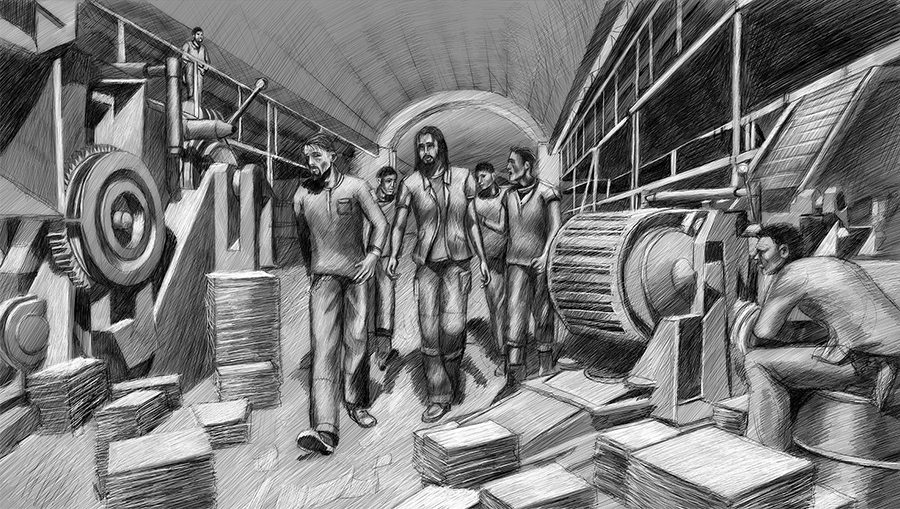
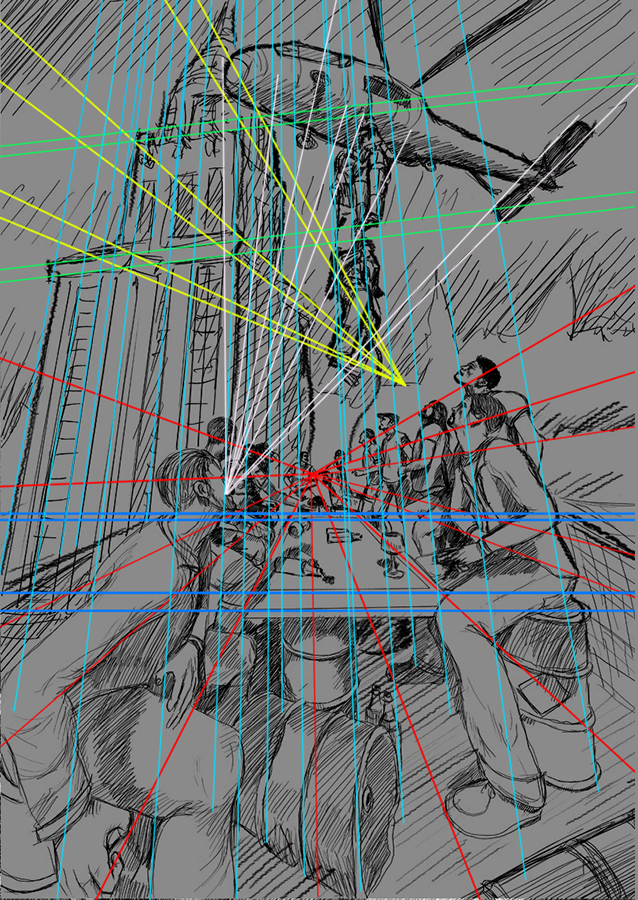
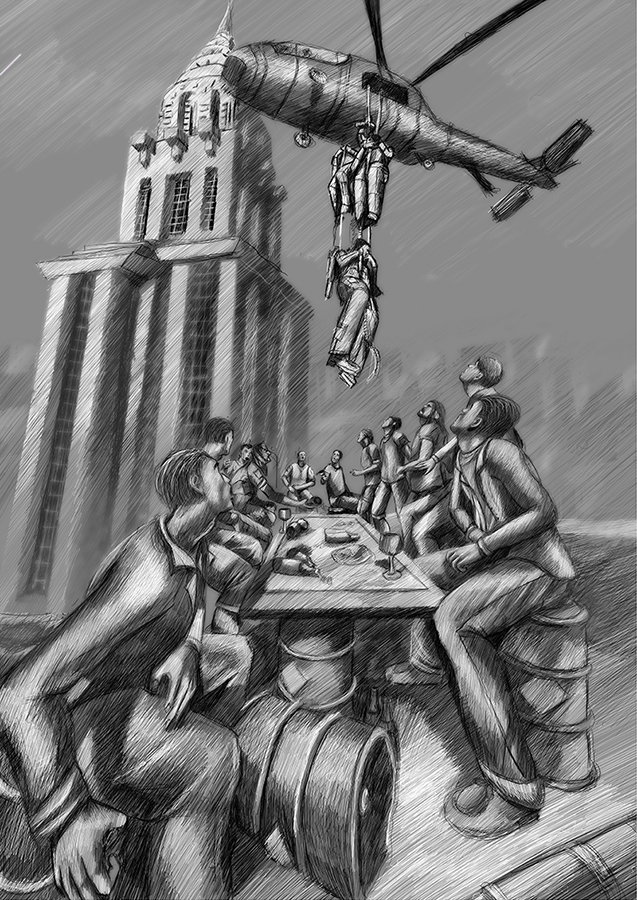
Here are some old perspective drawings I created around a decade ago together with the perspective lines used to create them. They were commissioned by Republic Films.


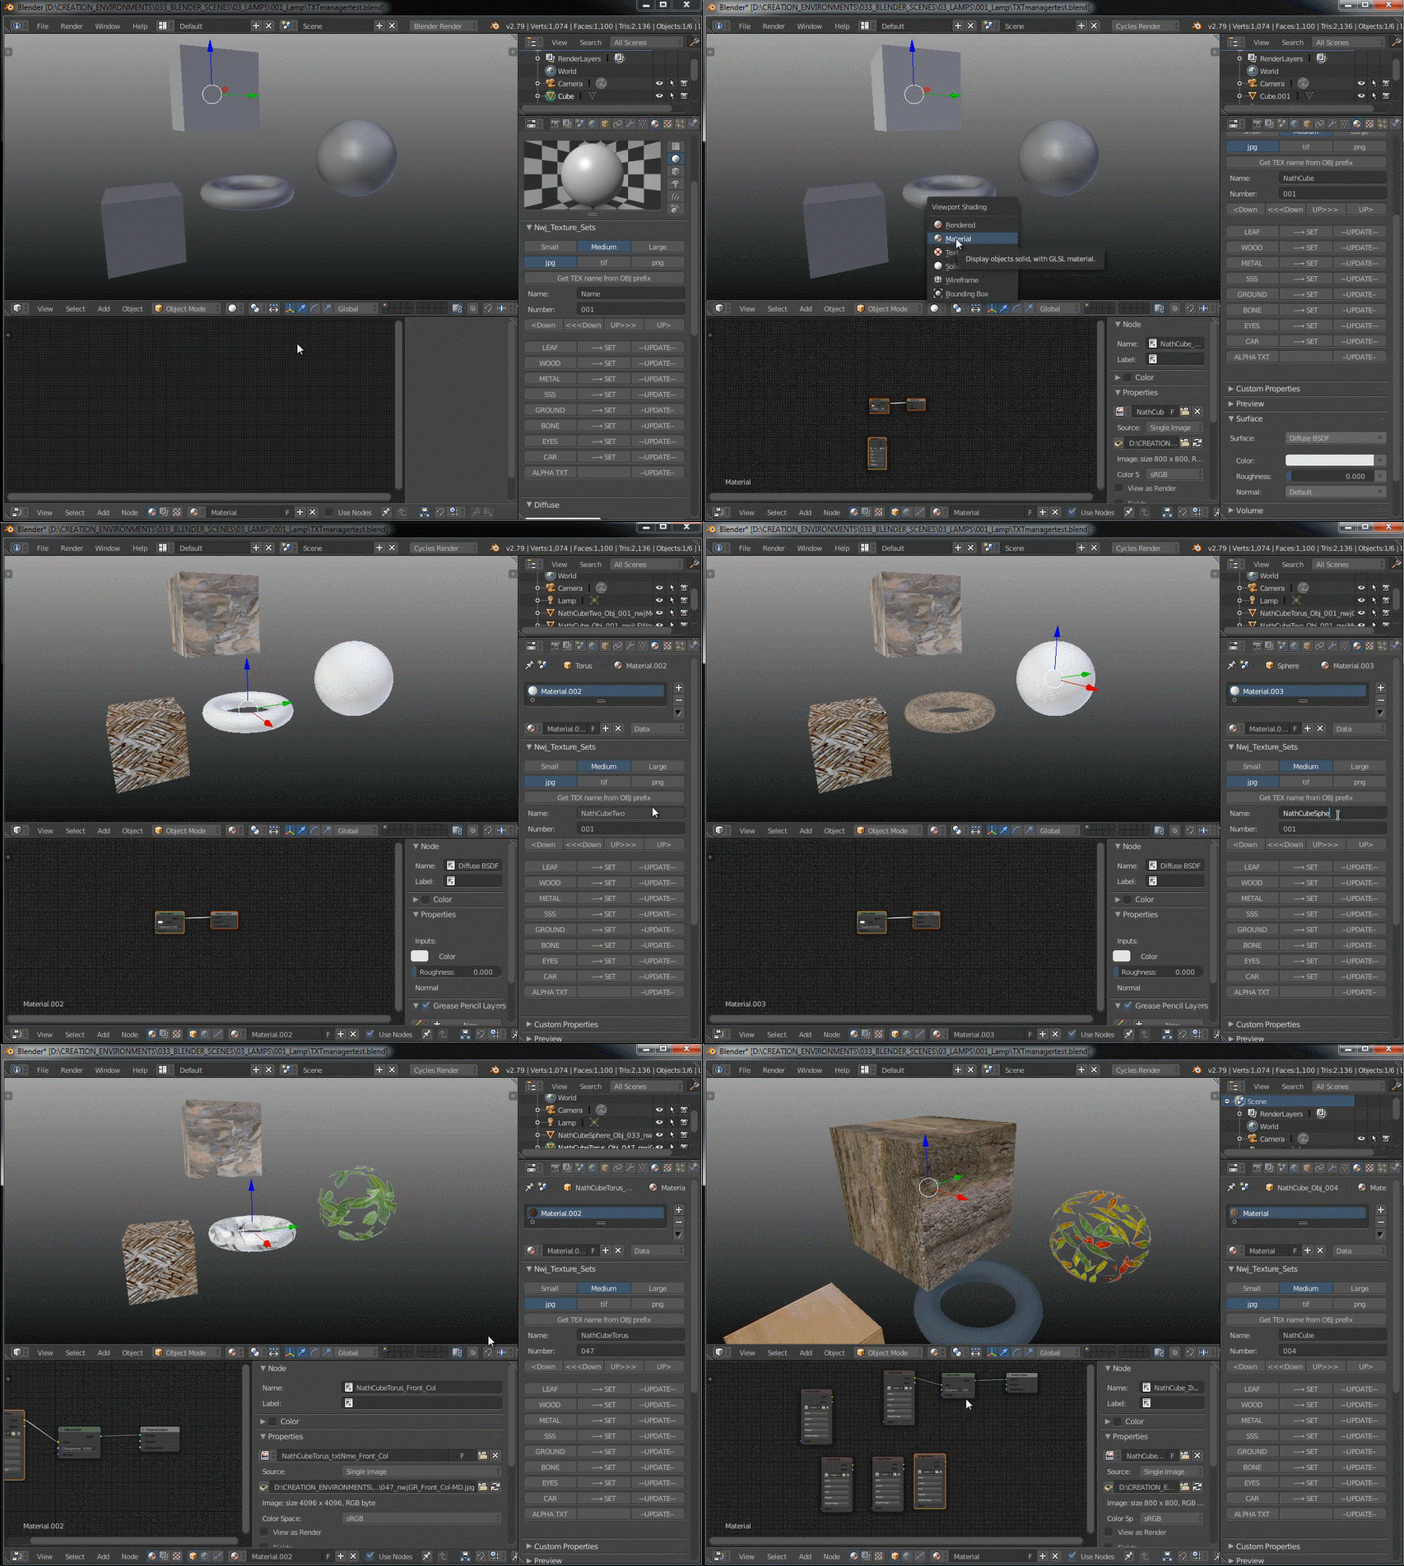
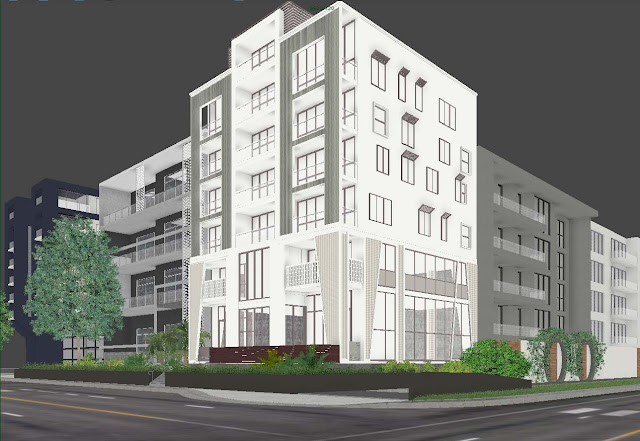 Render test:









 This is a page of notes about perspective drawing. It's been a long time since I've drawn anything and so I wanted to complete a quick revision exercise. Hopefully it will get me back into the habit.