Showing posts with label blender. Show all posts

Wednesday, 5 June 2024

learning exercise – animating explosions / projectiles with code and physics


Velocity: v0=v×(1+random.uniform(−rv,rv))v0=v×(1+random.uniform(−rv,rv))
Mass: mass=m×(1+random.uniform(−rm,rm))mass=m×(1+random.uniform(−rm,rm))
Launch Angle: random.uniform(0,360)random_angle=random.uniform(0,360)
Mess with time (bit slow to process but things look bad if not slowed down for aesthetics):
Δt=0.1speed_factor×(1+random.uniform(−time_randomize_bias,time_randomize_bias))Δt=speed_factor0.1×(1+random.uniform(−time_randomize_bias,time_randomize_bias))
Bias Launch Direction:.
angle_variation=(1−direction_bias)×90angle_variation=(1−direction_bias)×90 and
random_angle=random.uniform(launch_angle−angle_variation,launch_angle+angle_variation)random_angle=random.uniform(launch_angle−angle_variation,launch_angle+angle_variation).
Air Resistance: (1−air_resistance×Δt (delta t) /randomized_mass)
Blender testing – any 3d program really - :

Friday, 10 February 2023

Blender Auto-Rig Add-on

A test for a  Blender Add-on I've been working on in what spare time I have. I've written most of the functions and classes I need to build any rig or animation tool. The fun part is being creative with them.  Early days. 


Sunday, 26 July 2020

Python Learning in Blender- Sine expression to Drive Bone Rotation


A quick python learning exercise in blender:
  1. Scripted various controls with arguments for names/limits/shape etc
  2. Scripted a bone chain definition with arguments for names/numberOfBones/transformPlacement/axis/O.O.R etc
  3. Created a script to iterated through the bones and deliver a sine expression using the controllers Y transform as input variables for the bones XYZ rotations - sin(frame*"freq+...etc")
Links:
Now - the expression needs a little work (ie: clamp(#,#,#) etc), before I can expand upon it.

Wednesday, 2 May 2018

Blender Add-on no:1 - Texture Set Manager

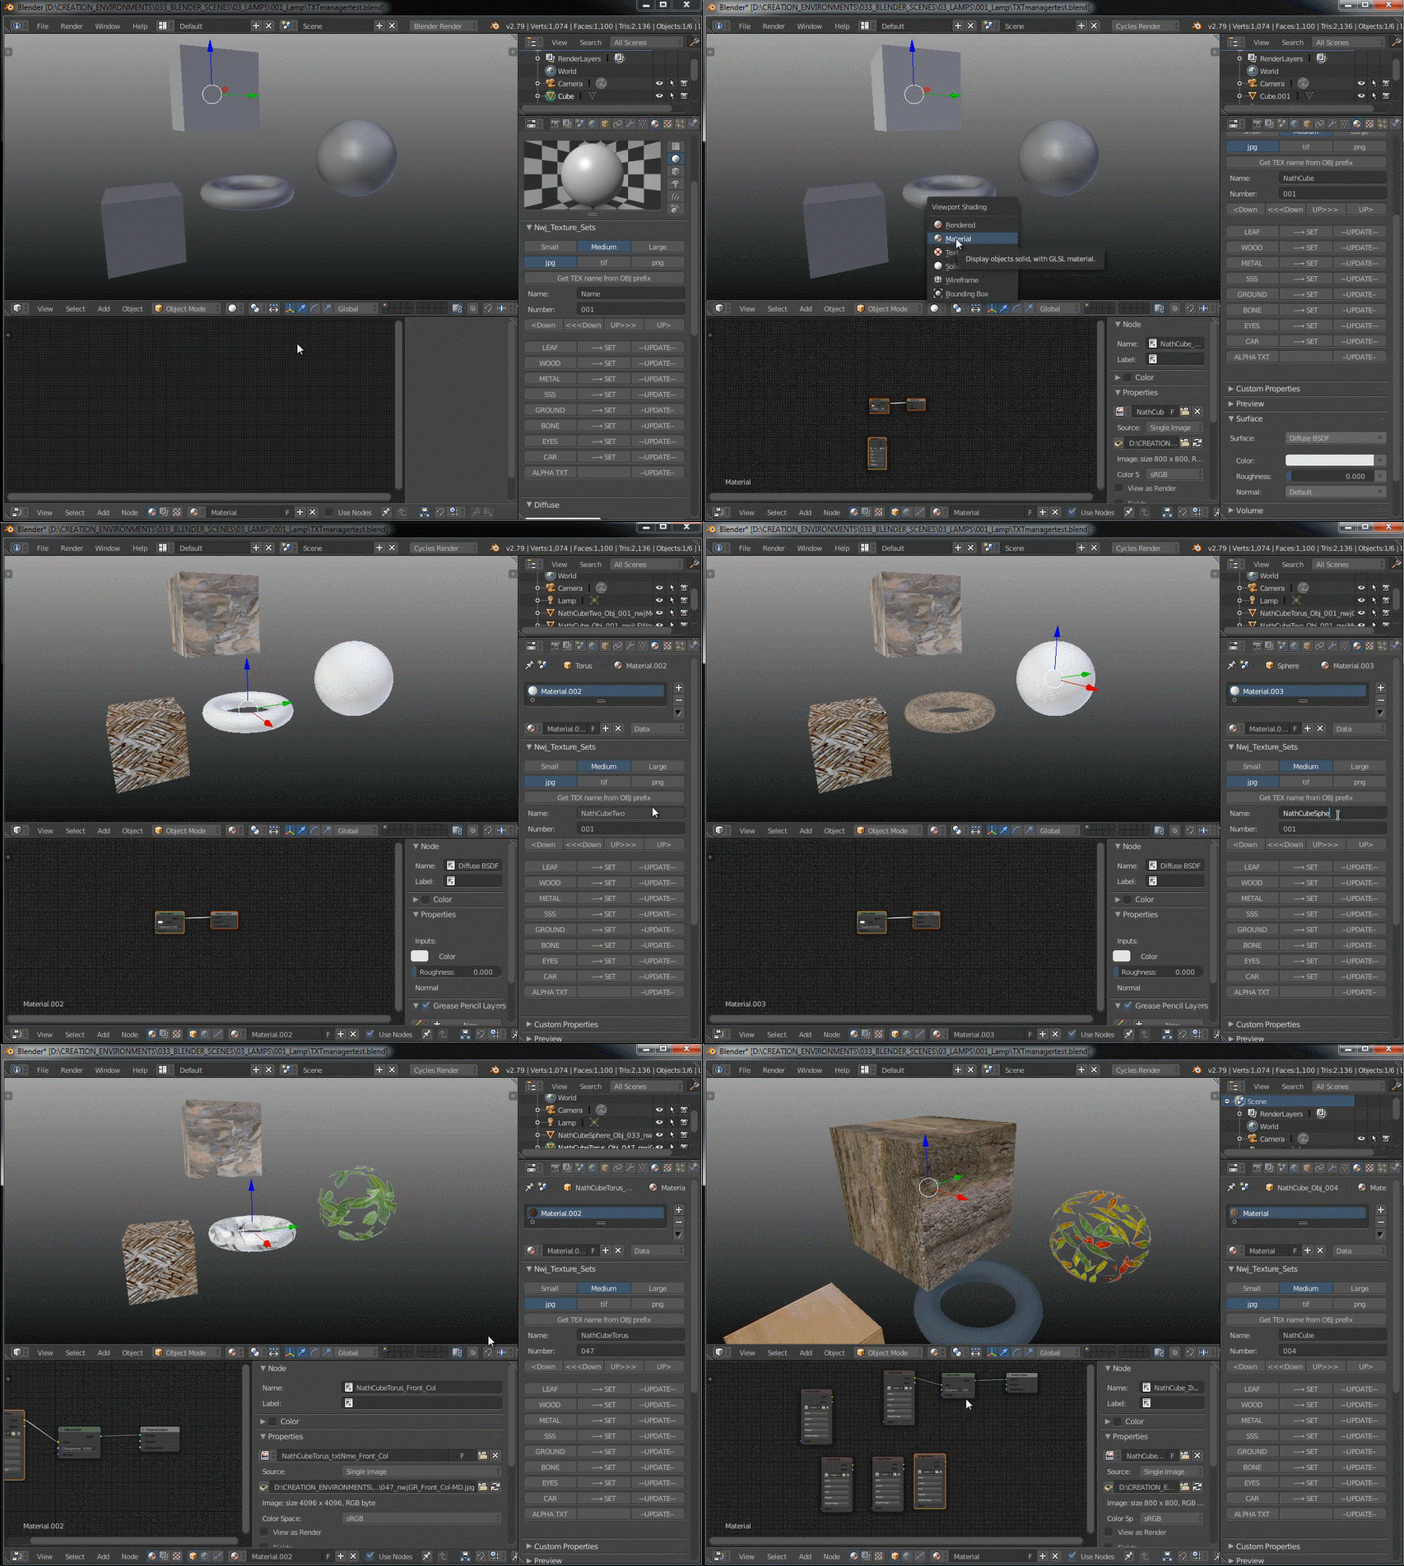
I wanted a quick way to load, name and update texture sets based on selected objects so I coded this in Blender.

...as well as in Maya and Max.

I'm finding it useful for quickly flicking through textures in dense scenes and for keeping all texture sets named and organized.   

Here is a flat shaded viewport screen grab of my text scene:
Render test:


 I can switch between image types( jpg,tif,png ), sizes( SM,MD,LG ) and image sets( type of 
wood, skin, metal... etc ).  

The process of making add-ons in blender is a relatively fast and simple one:

Tuesday, 1 May 2018

Wednesday, 24 January 2018

Redback Spider (W.I.P)

Modeling in   - Blender 
Hair added in - Maya
Rendered in   - V-Ray


Light Balance: 


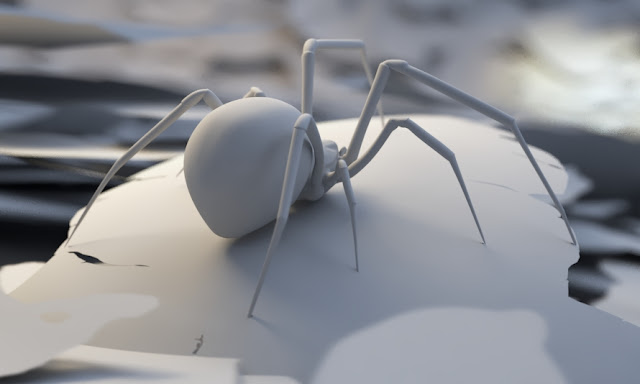
Test render of  just the spider:


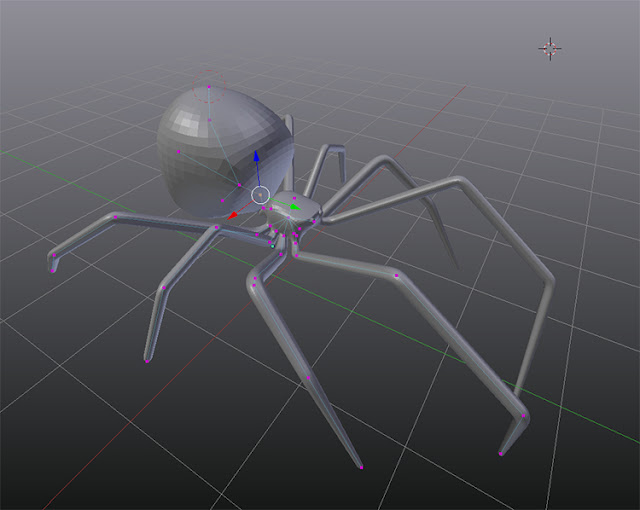
As a workflow test I decided to model a new Redback in Blender using Blenders Skin Modifer. Previously I modeled one in Maya.

I noted my first attempt at using Blenders Skin Modifier HERE. Once the base shape was created I retopologized the mesh using the blender add-on RetypoFlow.


Render test one. I created a web alpha in photoshop and projected them onto images planes in Maya. Here is a test render:
The web is, in all honesty, not very believable, the spiders joints are way to bright and the lighting isn't the best. I decided to do a test without a background or hair:

....could be better but, as always, it's a W.I.P.

Thursday, 12 October 2017

Blender modeling Notes


This  page documents my first steps learning blender. I'll also add to the page over the next week or two as I explore more of what blender can do. So far I'm really impressed.

Click HERE for an older interview with  Ton Roosendaal. It gives some history and context to blender.

Note: Page last added to  on 18/10/17
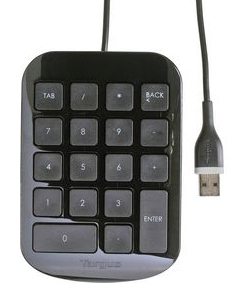
As blender relies heavily on numPad keys,  and the "emulate numpad" overrides various shortcuts, I'm using a numPad keyboard for easy access on the left of my keyboard.
numPad
Hotkeys:
Navigation:
  • MMB = Orbit
  • Ctl + shift + Middle Click /or/ Scroll Wheel = Zoom
  • Shift + F5 = Viewport
  • 0(numPad) = Camera Mode (Enter/Exit)
  • 5 = Orthographic Perspective
  • 1/3/7(numPad) = Front/Right/Top View
  • Ctl + 1/3/7(numPad) = Back/Left/Bottom
  • Home = Frame All
  • .(numPad) = Frame Selection
  • Shift + C = Reset Viewport
  • Shift + F = Video Game Navigation
Object Viewing - In Viewport:
  • /(numPad = Frame Selection
  • Z = Wireframe
  • Alt + Z = Toggle Texture/Shader
  • Shift + Z = Toggle rendered/Shaded
  • (Shift + B + release) + Drag = Zoom into Portion
Editing/Creating Objects:
  • Shift + A = Add Objects
  • Ctl + Tab = Switch Edge/Vertex/Face panel
  • Tab = Edit Object Mode
  • Left Click = Move 3D Cursor
  • Ctl + A = Apply objects transformations (like freeze trans)
  • Y = Edge Split
  • Ctl + 1/2/3/0 = Subdivision Amount
  • Ctl + # = Add Subdivisions
  • U = UV uwrap
  • K = Knife Tool
  • I = Inset
  • E = Extrude
  • Alt + M = Merge Vertices (options panel ex: merge to centre)
  • Ctl + R = Loop Cut(Scroll wheel to add loops - pre right click)
  • Ctl + J = Join Objects
  • Ctl + B =Bevel (scroll for subdivs)
  • G + G = Slide Vert/Edge/Face
  • V = Rip
  • Alt + V = Duplicate Edge Loop on Object
  • F = Fill/Bridge Edges/Verts
  • P = Separate Selected (Verts/Face/Edge)
  • G + O = Offset and slide vert across edge
Within the Sculpt Brush
  • D = Draw Tool
  • Click + Drag = Add
  • Shift + Click + Drag = Subtract
  • F + Drag = Brush Radius
  • Shift + F + Drag = Brush Strength
  • C = Clay Brush
  • 2 = Clay Brush
  • G = Grab Brush
  • 7 = Grab Brush
  • I = Inflate/Deflate Brush
  • 8 = Inflate/Deflate
  • Shift+5 = SculptDraw
  • Shift+6 = Smooth
  • S = Smooth Brush
  • Shift+C = Crease Brush
  • L = Layer Brush
  • 9 = Layer Brush
  • M = Mask Painting
  • 0 = Mask
  • K = Snake Hook Brush
  • Shift+T = Flatten/Contrast Brush
  • P = Pinch/Magnify Brush
  • 1 = Blob Brush
  • 3 = Clay Strips Brush
  • 4 = Crease Brush
  • 5 = Fill/Deepen
  • 6 = Flatten/Contrast Brush
  • Shift+1 = Nudge Brush
  • Shift+2 = Pinch/Magnify Brush
  • Shift+3 = Rotate
  • Shift+4 = Scrape/Peaks
  • Shift+7 = Snake Hook
  • Shift+8 = Thumb

Moving Objects:
  • G = Move  (+ X/Y/Z to Constrain)
  • S = Scale   (+ X/Y/Z to Constrain)
  • R = Rotate (+ X/Y/Z to Constrain)
  • G + 5 = Move 5 Units
  • R + 2 = Rotate 2 Units
  • W = Panel (select Bridge)
  • Shift + C = Cursor at 000 (plus frame focus)
Selecting;
  • A = Select/Deselect All
  • B(release) + Drag = Box Selection
  • B(release) + Drag + Shift = Box Deselect
  • B(release) + Left Click(drag) = Rectangle Select(add)
  • B(release) + Middle Click(drag) = Rectangle Select(Remove)
  • C + Left Click = Circle Selection(add) - (+ Scroll for Circle Radius change)
  • C(release) + Shift = Circle Selection(remove) - (+ Scroll for Circle Radius change)
  • Ctl + Left Click - Lasso Selection(add)
  • Ctl + Shift + Left Click - Lasso Selection(add)
  • Alt + Right Click = Select Edge Loop
  • Ctl + Alt + Right Click = Select Edge Ring
  • L = Select shared Verts/Edges/Faces
  • Ctl + +(numPad) / -(numPad) = Grow/Shrink Selection
Duplicating/Deleting/History/Hiding Objects:
  • H = Hide
  • Shift + H = Hide Unselected
  • Alt + H = Unhide
  • X = Delete Panel
  • Shift + D = Duplicate
  • Alt + Shift + D = Duplicate
  • Ctl + Alt + Z = Undo History Panel
Snapping/Cursor;
  • Shift + S = Snap Cursor to Selection
  • Ctl + Shift + Alt + C = Set Origin (Geo to Origin/Origin to 3D cursor etc)
  • Shift + S = Cursor options (ex: Cursor to center)
Animation:
  • Alt + A = Play/Pause
  • Shift + Alt + A = Play in Reverse
  • Left/Right Arrows = Next/Previous Frame
  • shift Left/Right Arrows = Beginning/End of Timeline
  • Shift + Up/Down Arrows = Jump Forward/Back 10 Frames
Windows & Panels:
  • Shift + Spacebar = Window Focus
  • Ctl + Ring Arrow = Scroll through window setups
  • Shift F4 = Python Console
  • Shift + F10 = UV Unwrap Window
  • F10 = Image Window
  • Shift + F7 = Editing Window (modifiers etc)
  • N = Transform Window Toggle
  • T = Tool Bar Toggle
  • Ctl + I = Invert Selection
  • Shift + F9 = Outliner
  • Shift + F3 = Node Editor
  • Shift + F11 = Text Editor
  • Shift + F7 = Properties Editor
  • Shift + F2 = Logic Editor
  • Ctl + .(NumPad) = Object Focus
  • Spacebar = Search Menu
Layers:
  • M = Move object to Layer Panel
  • 1/2/3/4 etc = Layer number
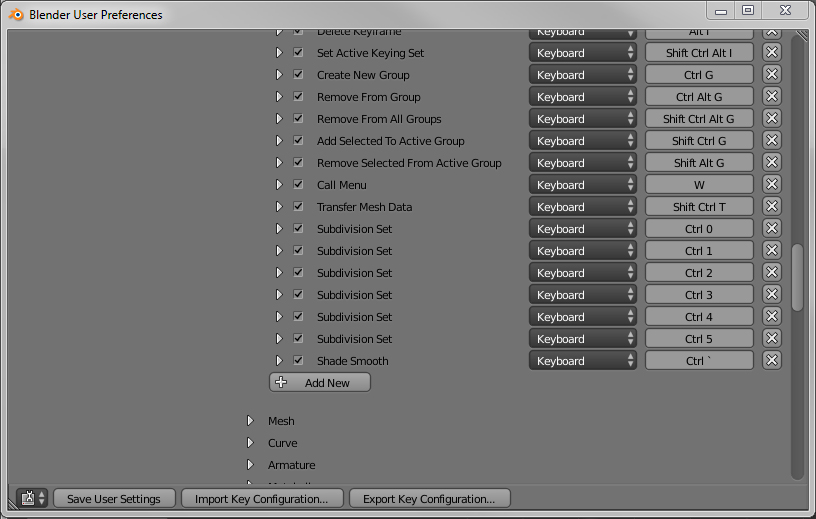
Changes - By right clicking on a menu we can add a shortcut hotkey to an item. We can also add it directly into user Preferences/Input:

addHotKeySmoothShade01
Hotkeys added:
  • Ctl + ` = Smooth Shade
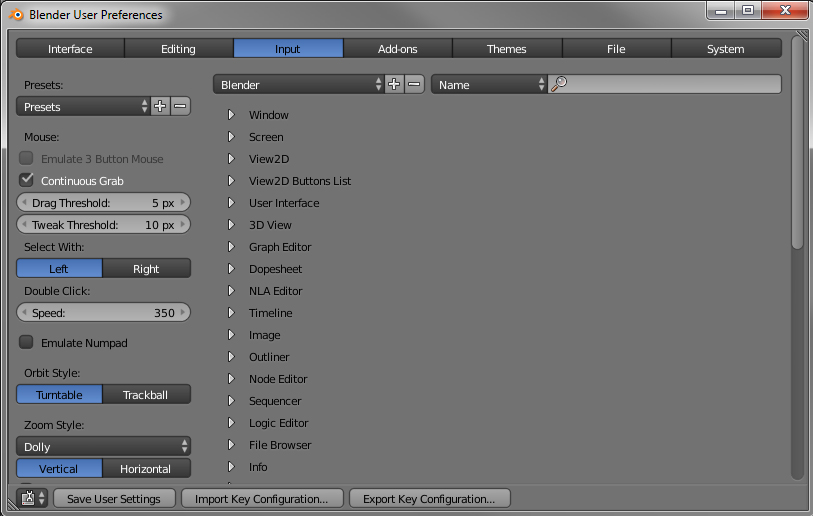
I also switched the '"select with" mouse buttons around:
mouseClickSwap
I'm used to the way the Maya Viewport looks so I installed the following "Maya Lover" Theme from Here. It's just cosmetic but I like it.
mayaTheme
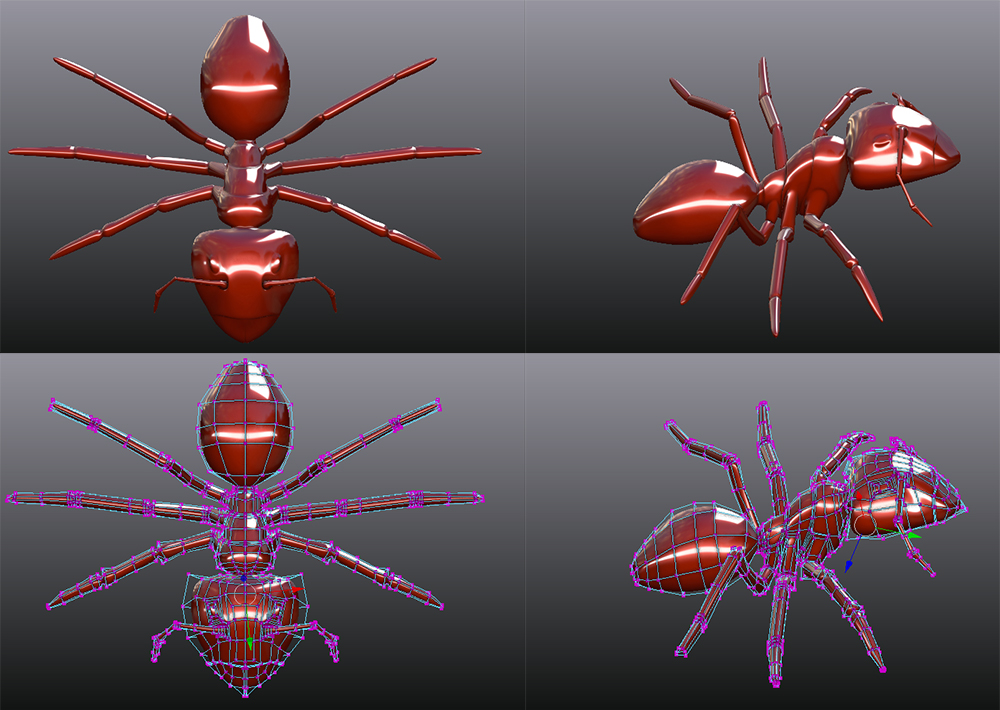
Modeling Practice - Ant (I'll document my first modeling attempt in blender)
  • Shift + S to center the cursor via the panel
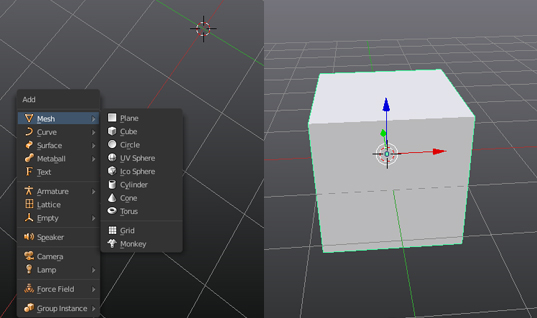
  • Shift + A to add - mesh - cube
BLENDER_ANT_01
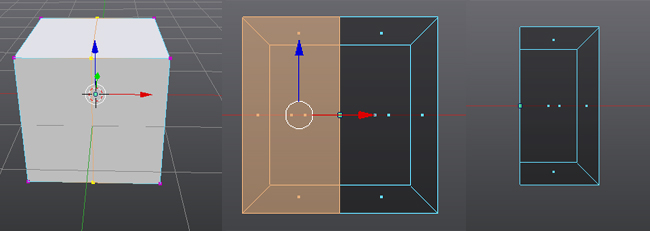
  •  Ctl + R to place a loop cut through the center of the object
  • Z to make the object transparent (so we can select the back faces)
  • 1(numpad) to switch to front view
  • B + Release + drag for rectangular selection of left side faces
BLENDER_ANT_02
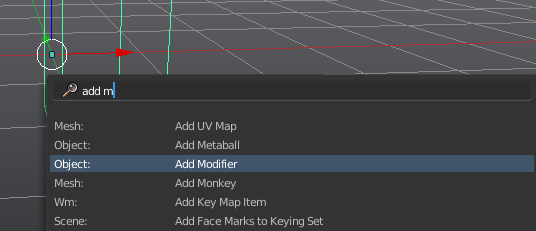
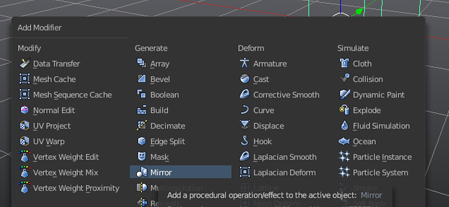
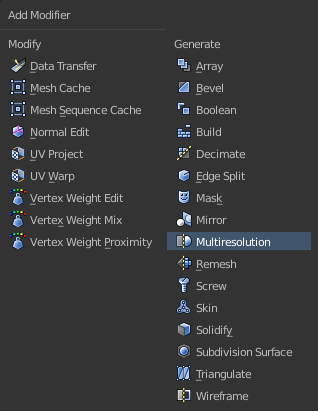
  • Spacebar - "type add m" bring up the add modifier panel
  • Add mirror modifier
BLENDER_ANT_03
BLENDER_ANT_04.jpg
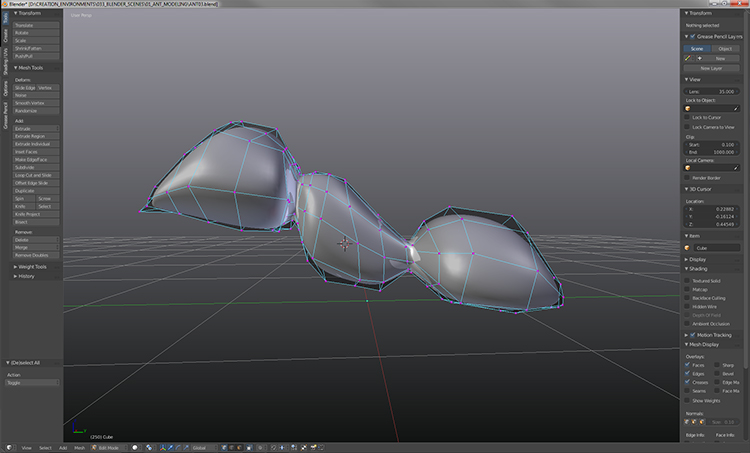
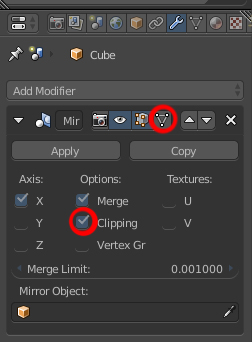
  • To constrain the central verts to the Y and Z axis we need to enable "clipping":
  • To see the mirrored mesh we need to turn on "cage to modified result":
BLENDER_ANT_05
  • Show the back facing verts so we can select them
BLENDER_ANT_06
  • Base mesh for the head, abdomen and thorax.
BLENDER_ANT_07
BLENDER_ANT_08
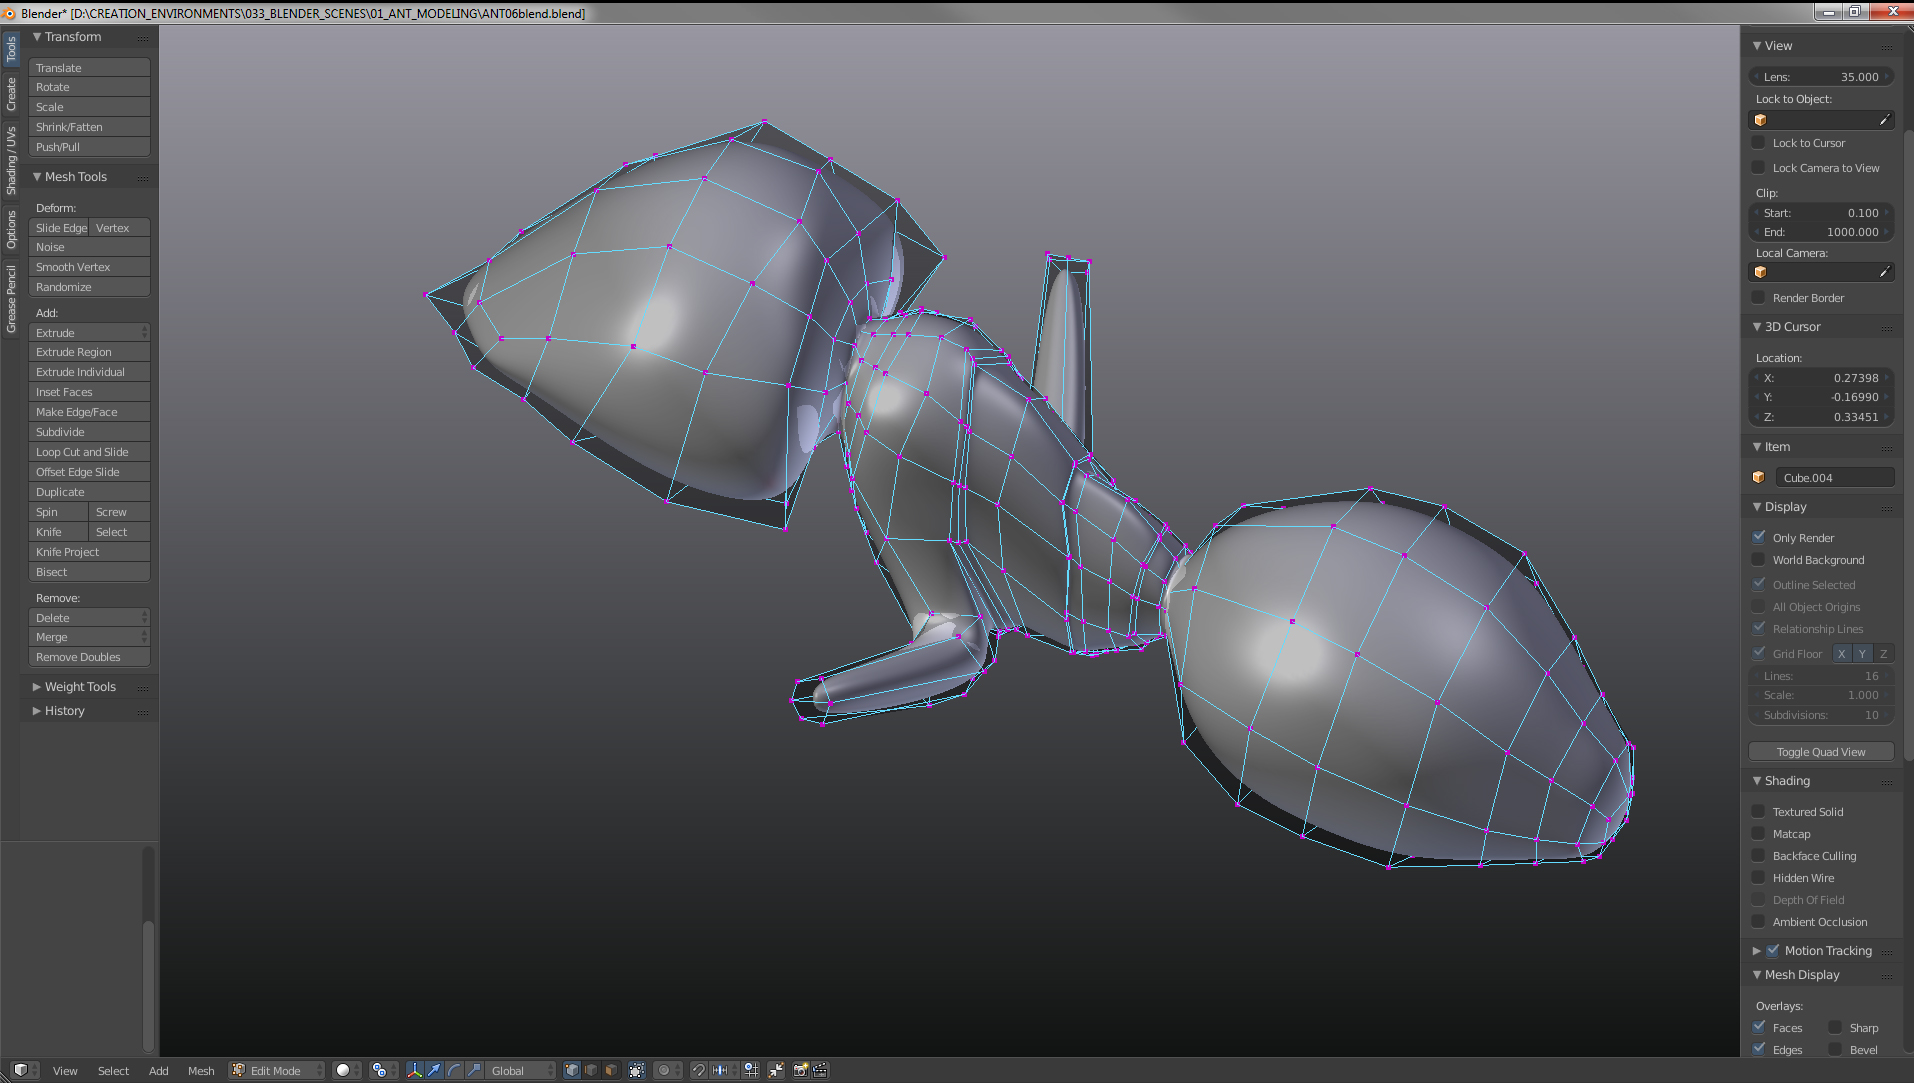
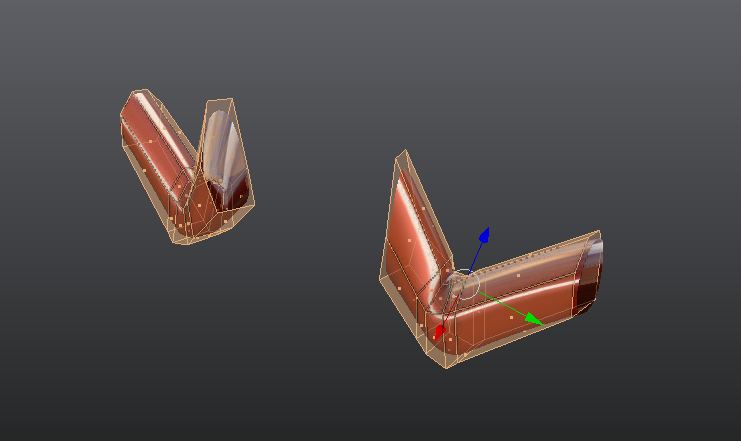
  • Extruding some legs
BLENDER_ANT_09
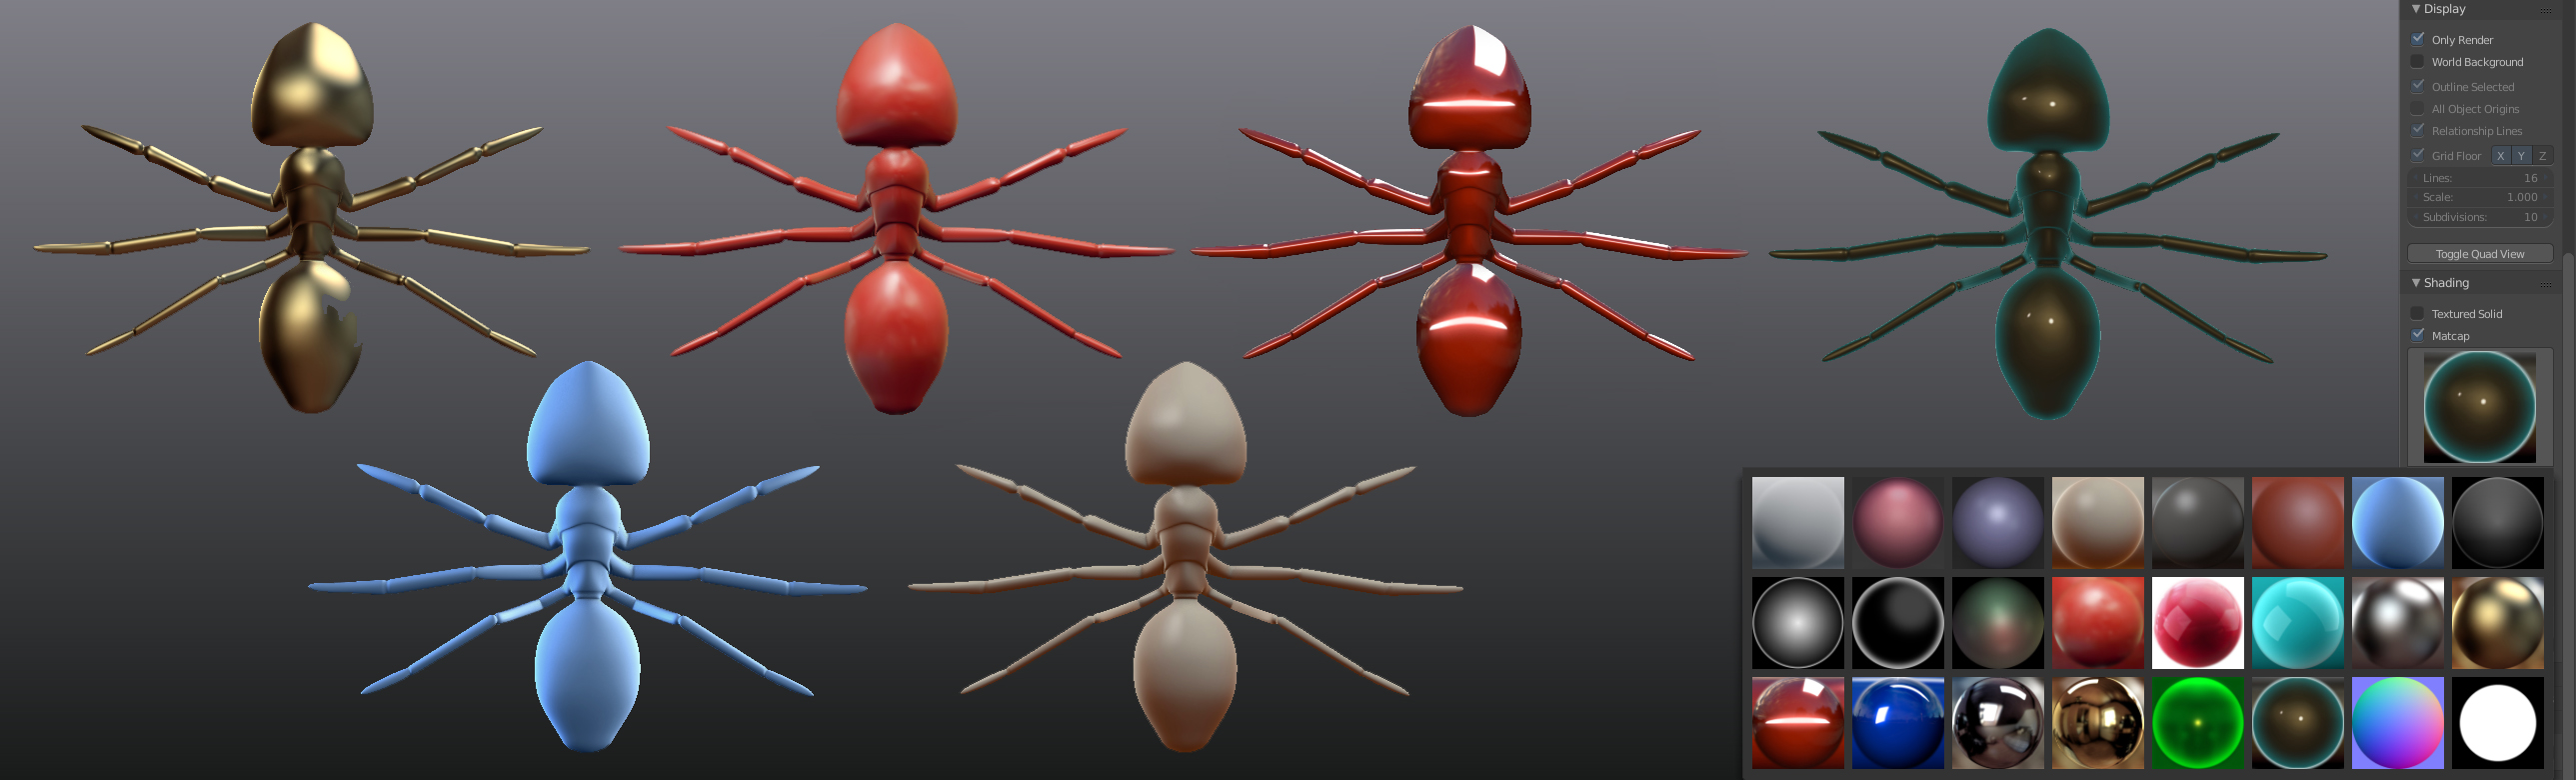
  • Within the transforms window(N) / display / Shading there are a number of Metcap shaders which are excellent for picking up surface imperfections while modeling.
BLENDER_ANT_10
  • Subdivisions with cage
BLENDER_ANT_11
  • To isolate an area for modeling the details we select the faces we want to isolate and Shift + H.
BLENDER_ANT_12
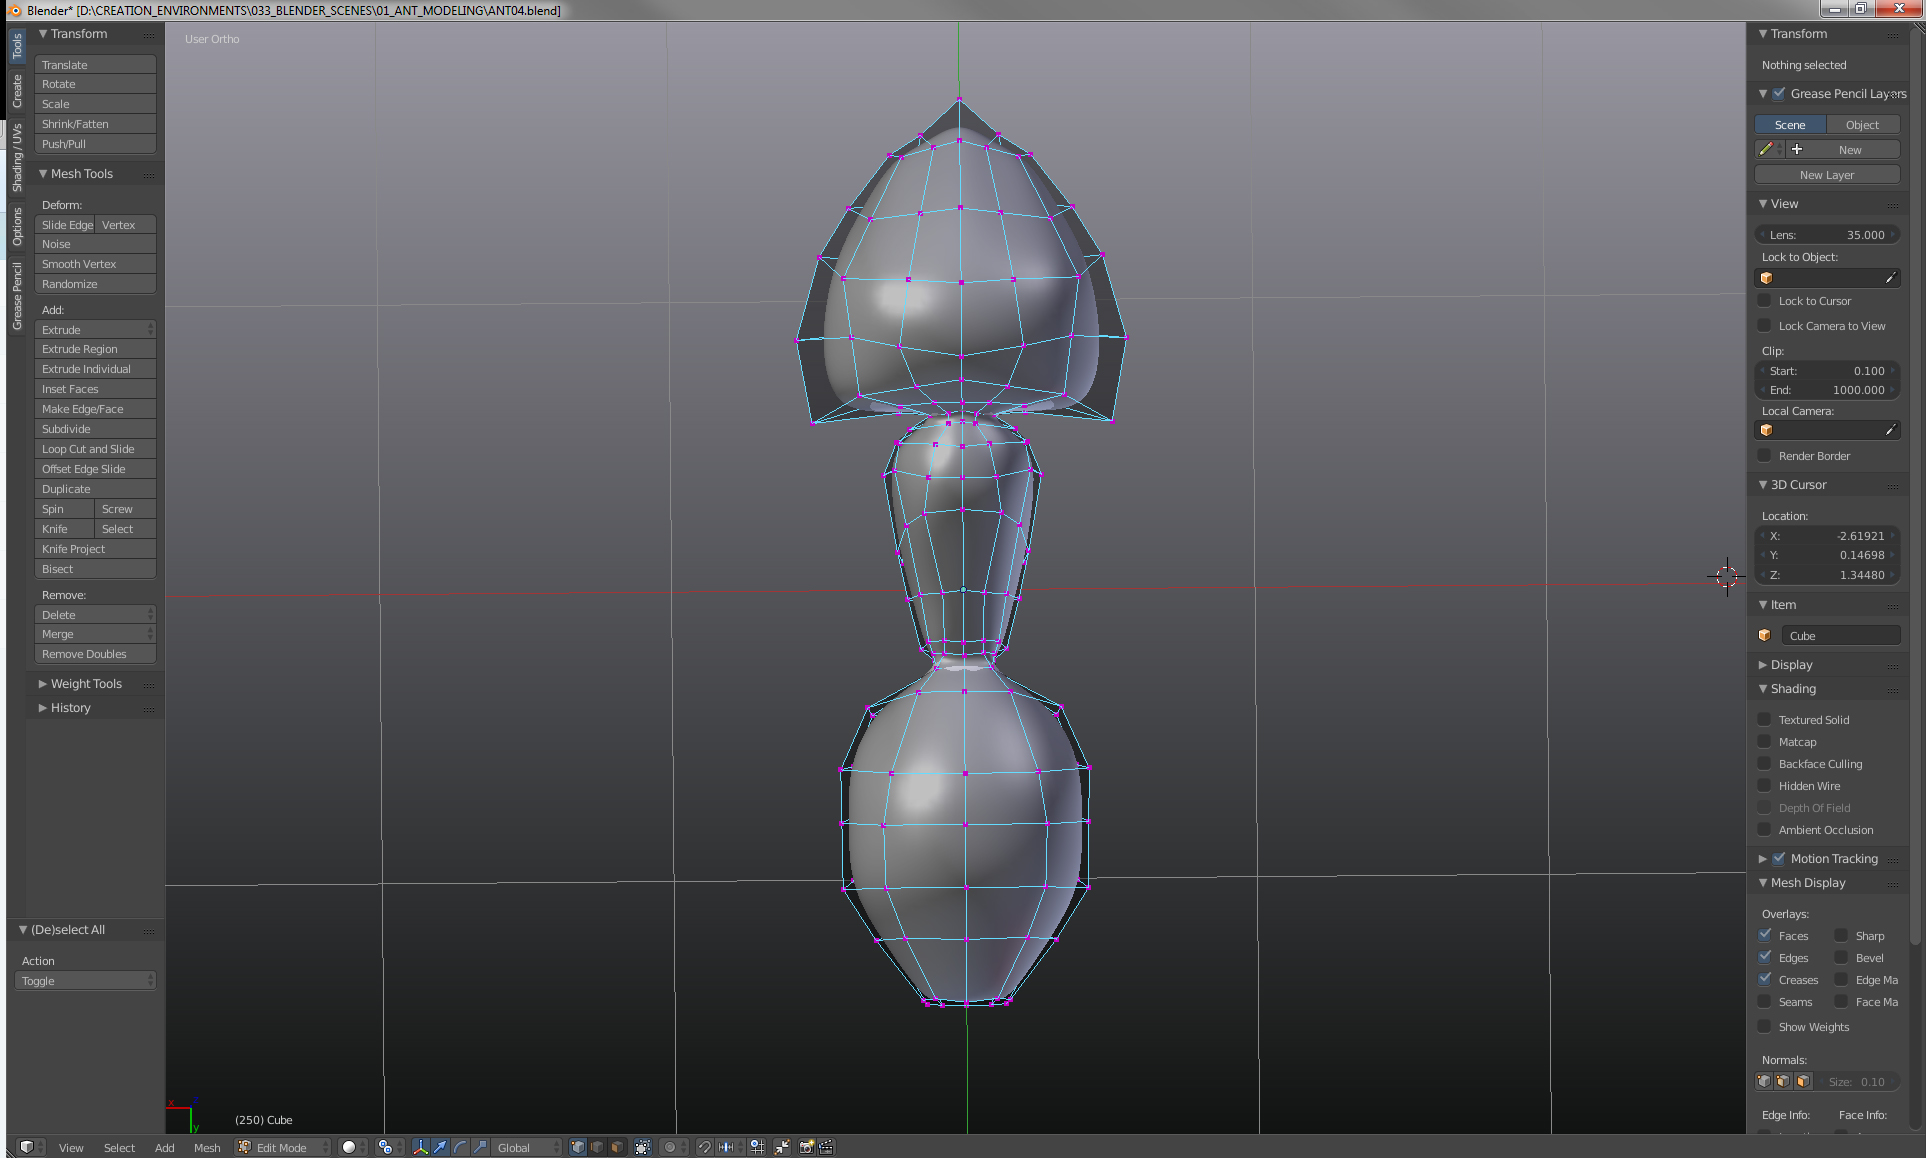
  • A little more tweaking
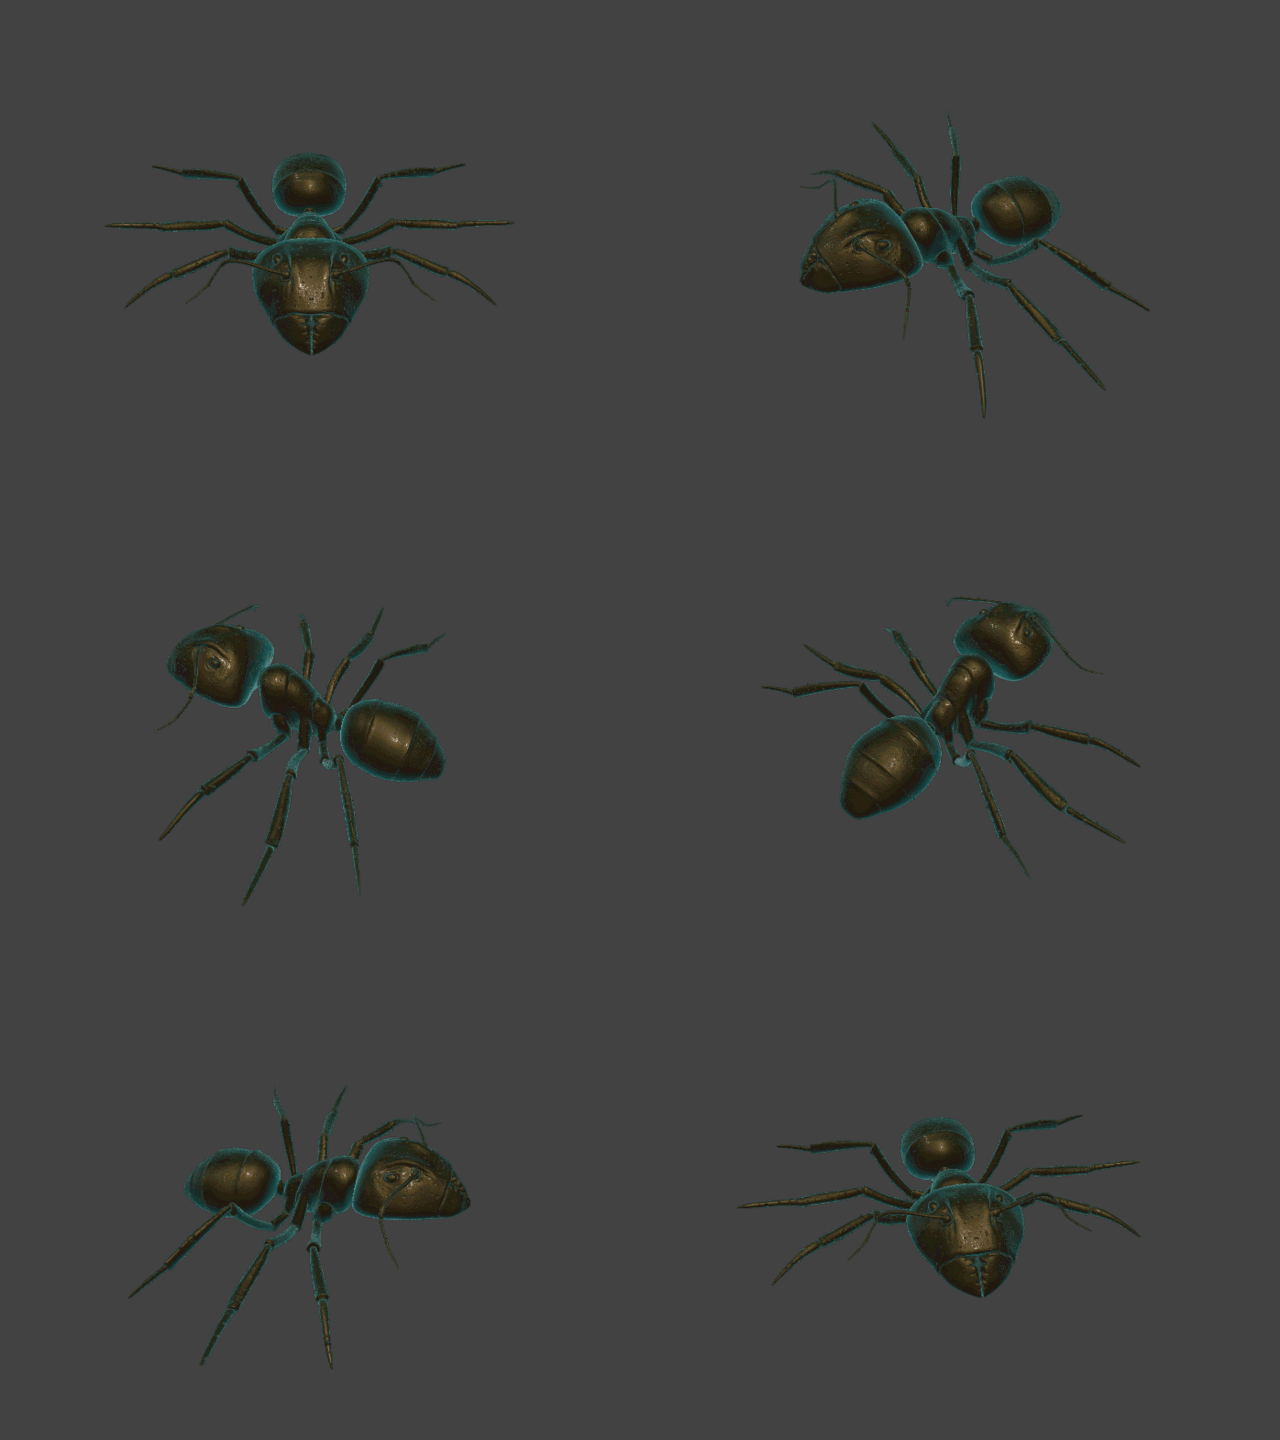
ant04
---------------------------------------------------------------------------------------------------------------
Testing Out the Sculpt Brush
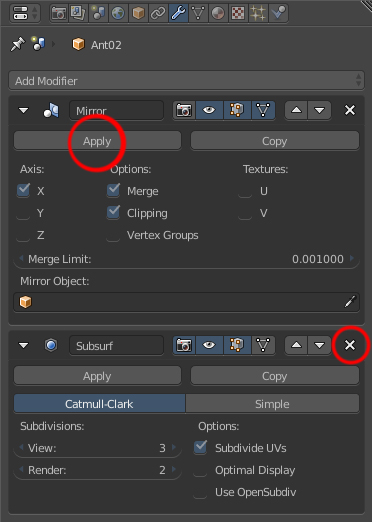
  • Before starting to sculpt - Apply Mirror Modifier and delete Subsurface Modifier if we are starting from a model created with the above method
BLENDER_ANT_13
  • Spacebar + "add m" to add modifier  Multiresolution
BLENDER_ANT_14
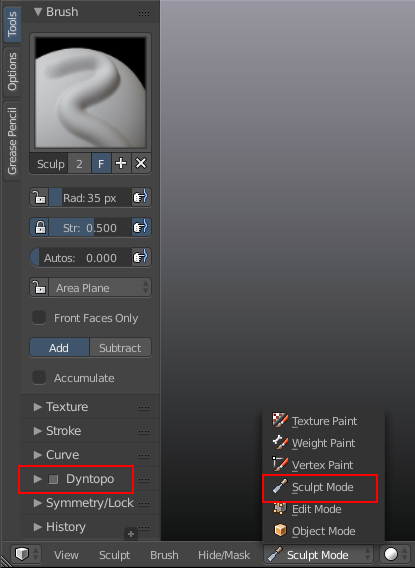
  • Switch to sculpt mode
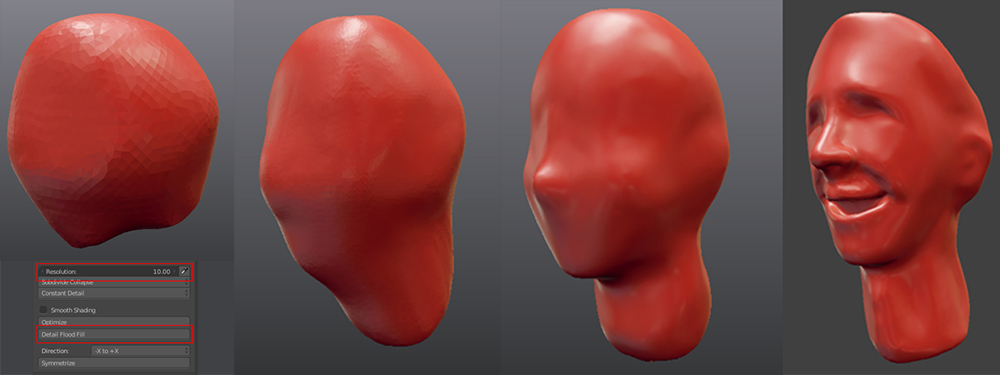
  • For roughing in a sculpt we can switch to Dyntopo
BLENDER_ANT_16
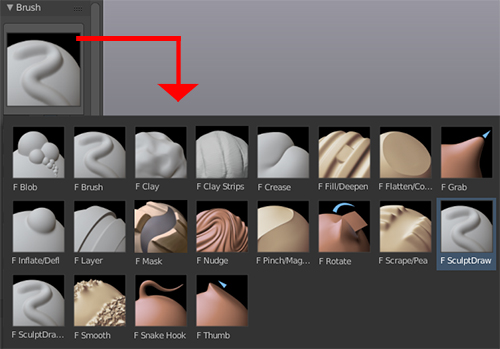
  • Choose Brush and start sculpting
BLENDER_ANT_17
  • Hotkeys of Note: F = Brush Radius Shift F = Brush Strength
  • Sculpting from a poly UV Sphere, (in Dyntopo mode), allows us to sculpt in a similar way to zbrush - as we would in real life with clay.
faceSculpt01
Once we are happy with a Dyntopo sculpt we can retopologize the mesh in one of two ways:
  1. The easy way is to buy a script like "RetopoFlow" which appears to be similar to Maya's quad draw tools.
  2. The second/free way  is explained HERE  by Zacharias Reinhardt.
Process notes:
  • Create plane with cursor at 000.
  • Ctl + R to slice in half /  delete Left Side
  • Add Mirror modifier / enable clipping
  • Add Subsurf modifier / set as simple (not Catmull-clark)
  • Add a Shrink Wrap modifier / choose target mesh / set the offest to .002 / enable "keep above surface" / make sure the triangle icon is enbled so that we see the Verts.
  • To avoid selecting verts on the other side - (alt + b = Clipping border) - (alt + b to remove clipping border).
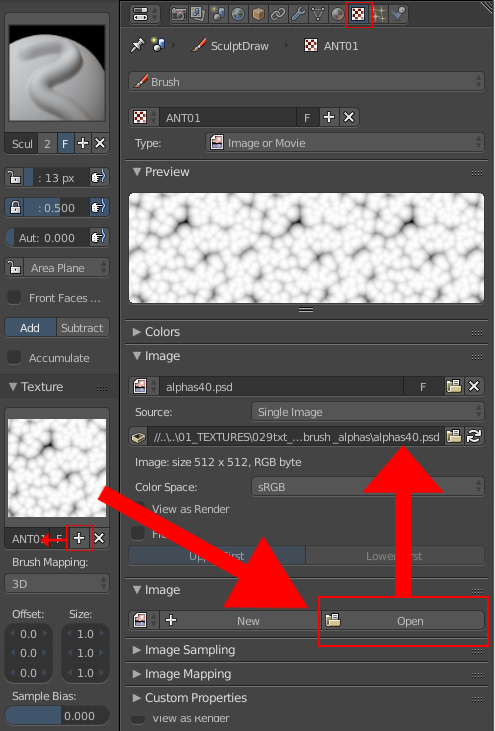
Alpha brushes in sculpt mode:
BLENDER_ANT_22
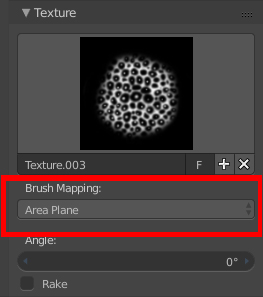
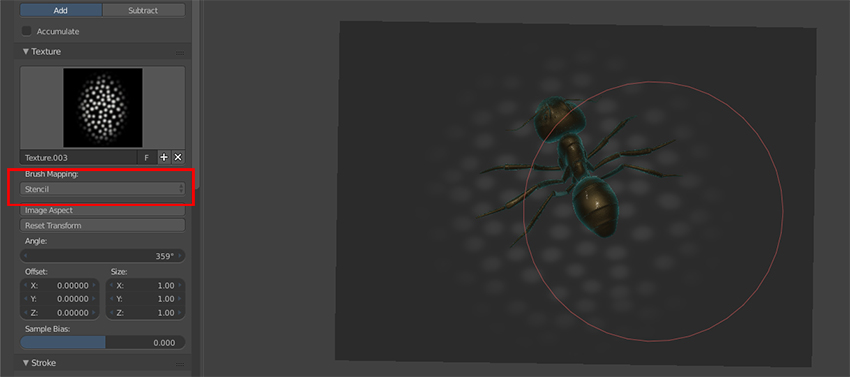
  • choose brush mapping style
BLENDER_ANT_23
  • We can use a stencil - (note hotkeys: RMB = move stencil / shift + RMB = Scale Stencil / Ctl + RMB = Rotate stencil)
BLENDER_ANT_24
  • Some details added to the mesh with alpha brushes
details
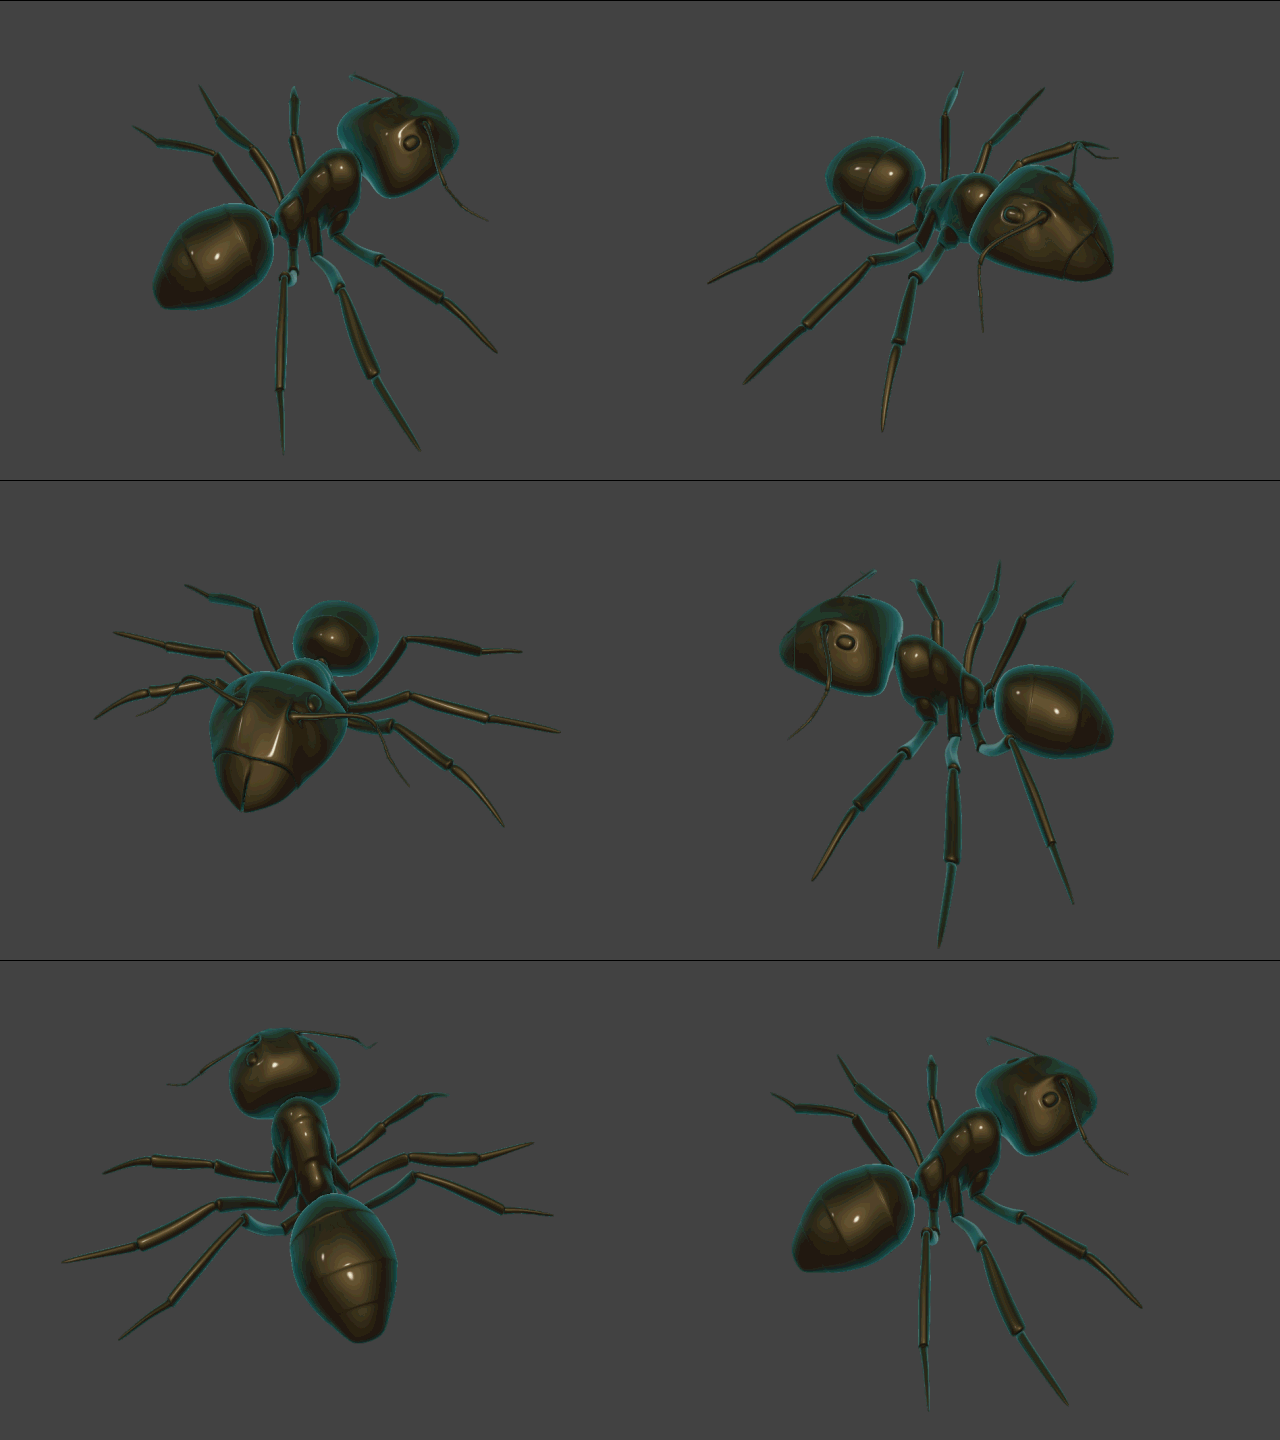
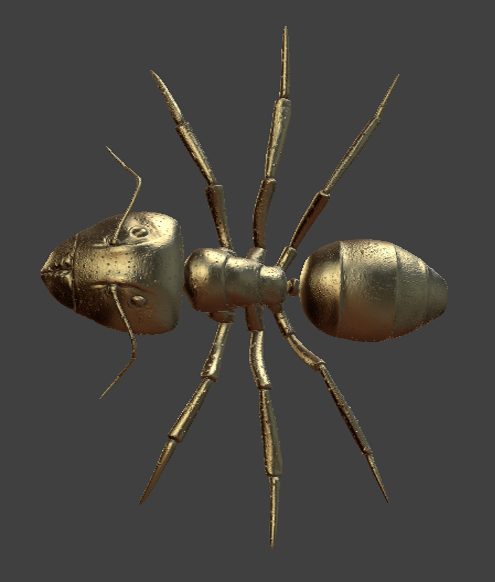
  • With a shiny gold met material we can see more details
BLENDER_ANT_26

Modeling with Blender's Skin Modifier

Setup:
  • Create plain(shift + C to center Pivot) / Alt + M  / Merge at center / Edit Mode / Spacebar/"Add Modifier"/ Mirror/Skin/SubDiv 
Modeling:
  • Extrude + G + Move / Ctl + A(x,y,z) for Scale / Ctl + R = Add Vert
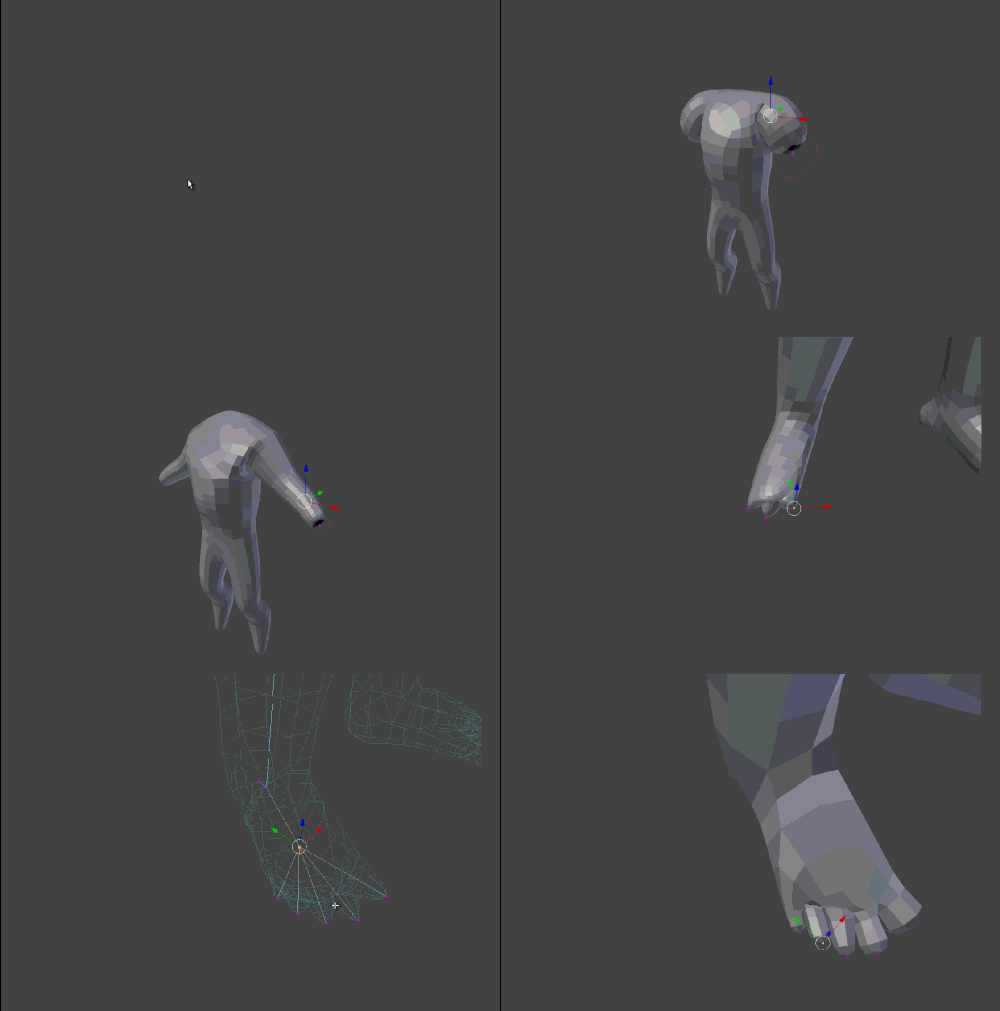
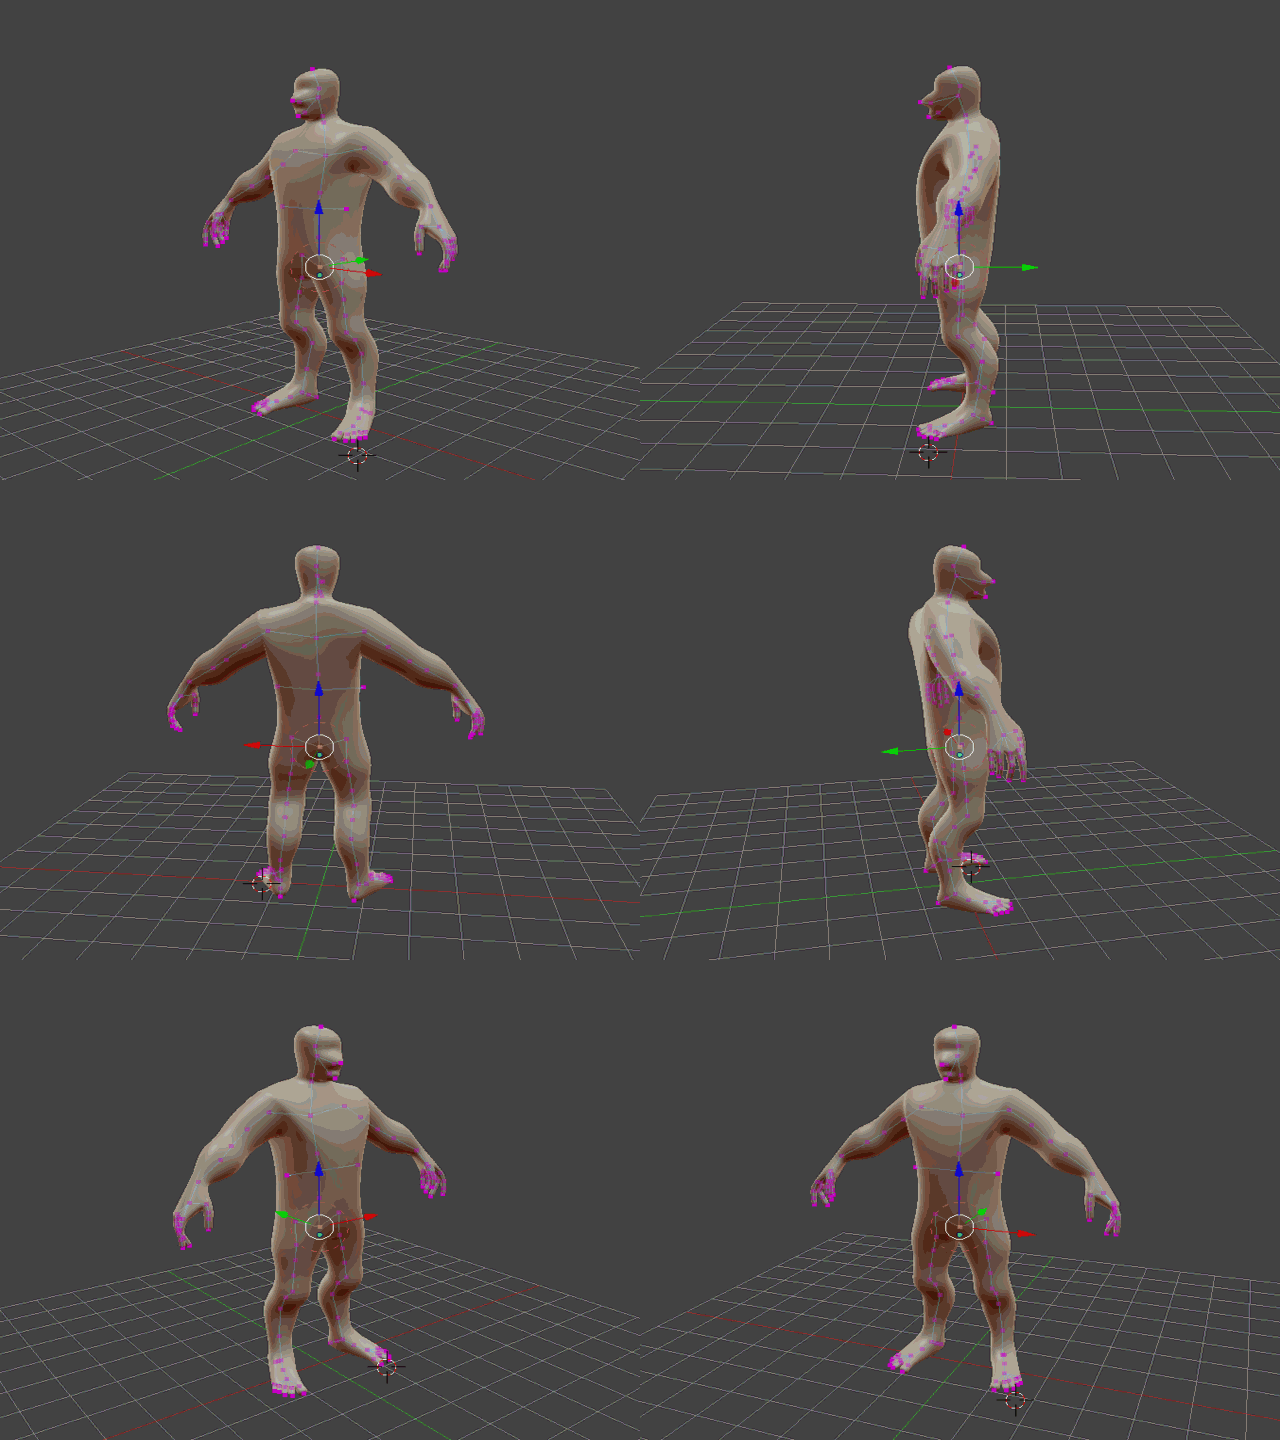
Test - Bipedal Character:
  • Starting with Torso and Feet - a little bit tricky
new01b
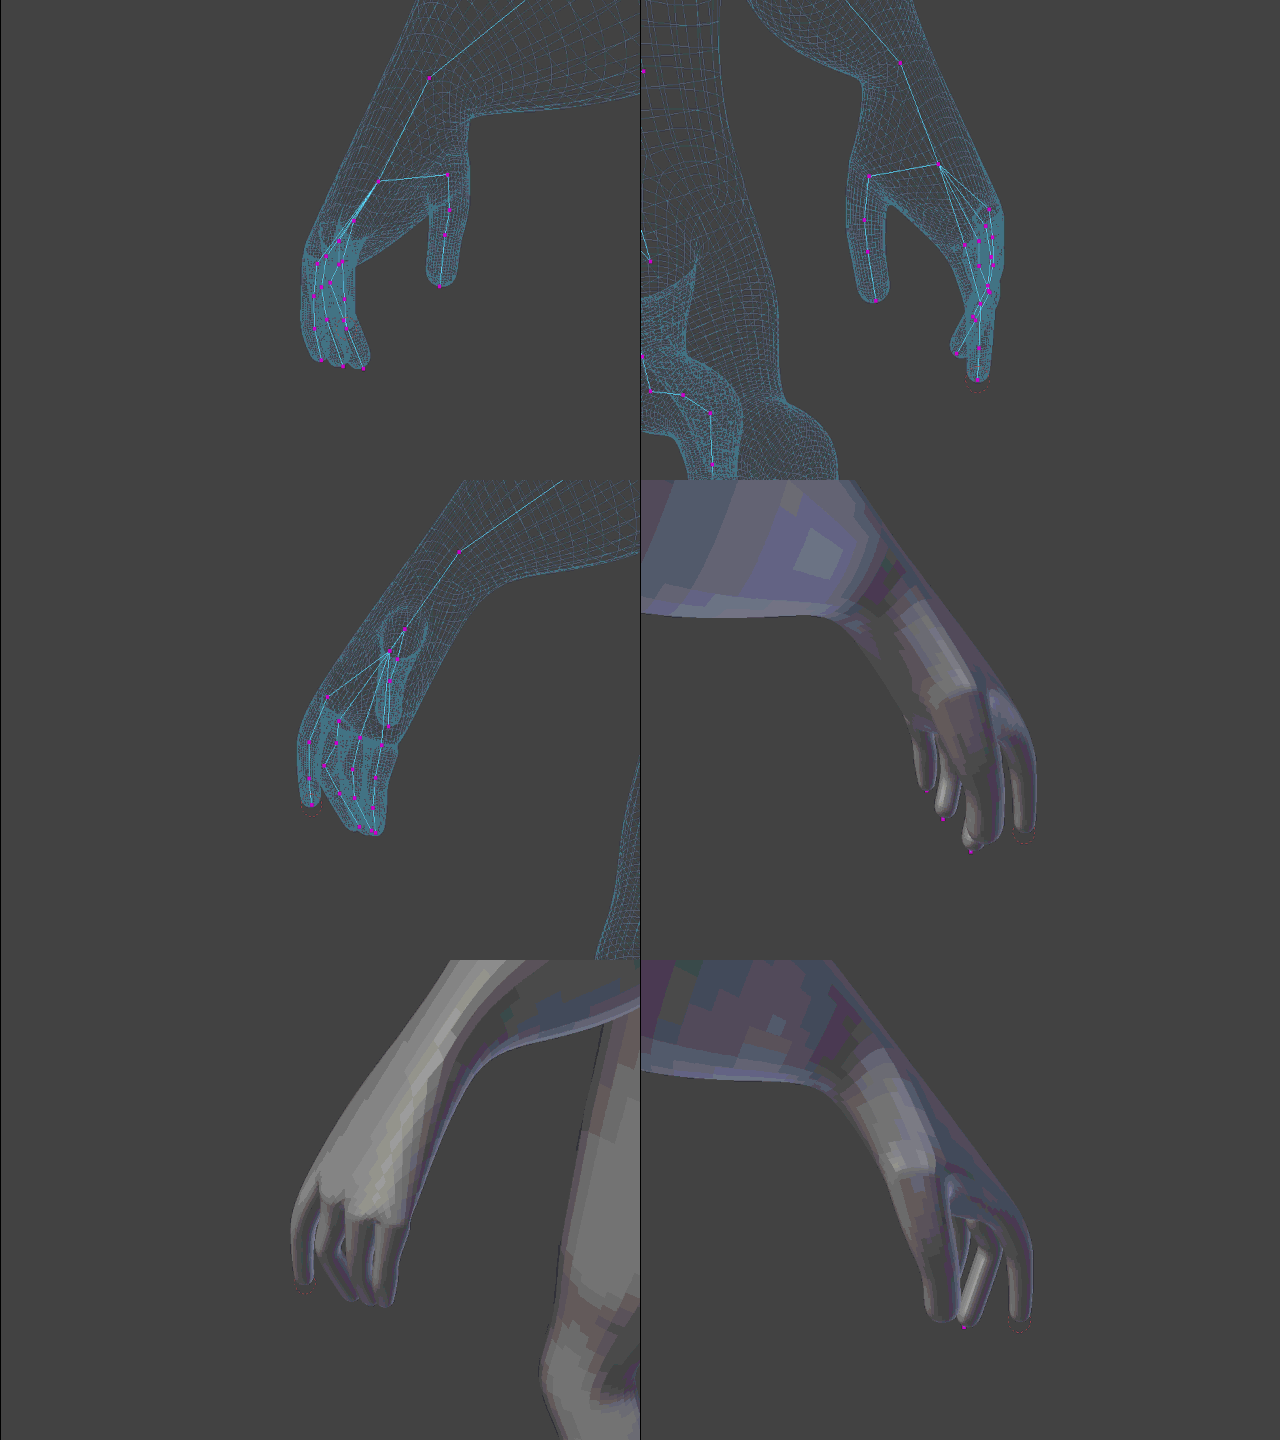
  • Attempt at constructing the hand
hand01
  • Base mesh completed
baseMesh02
  • From here we could use the sculpt tools to refine the character and then retopologize the mesh once we are happy.
 In sculpt mode - start clay style sculpting:
  • Clay Brush / Area Plane 
  •  Dyntopo Enabled / + Subdivide Edges / + Brush Detail
  •  Ogre type creature created from the base mesh using the above brush settings


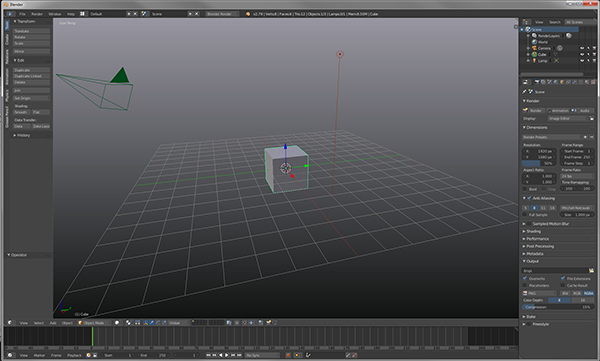
Blender is a much loved, free and open source 3D application with a thriving user community. It was originally created by Ton Roosendaal as an in house software tool at  NeoGeo - an animation studio he co-founded. It was later released as free creation tool.
Visit:
Open Project Films created by the Blender foundation: