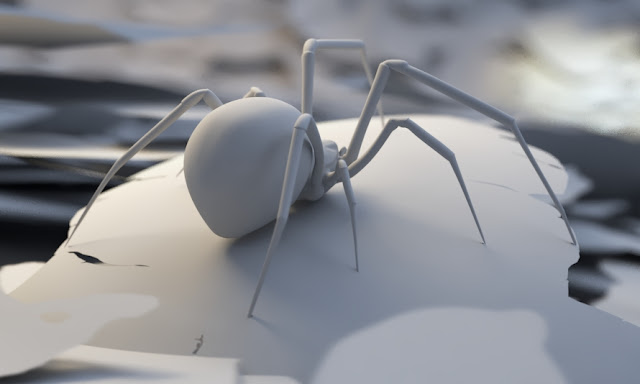
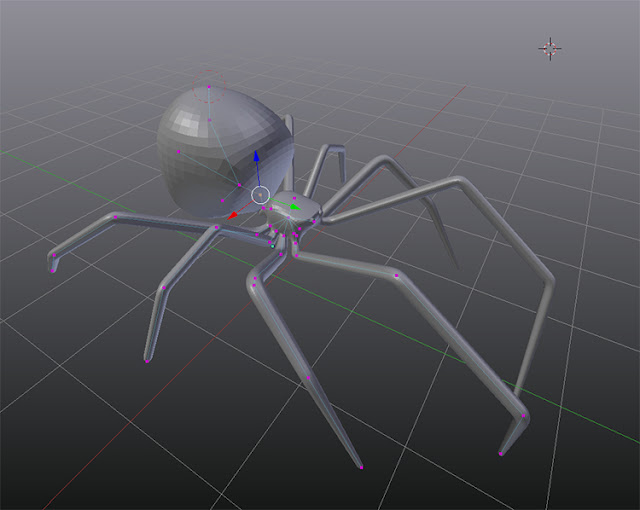
As a workflow test I decided to model a new Redback in Blender using Blenders Skin Modifer. Previously I modeled one in Maya.
I noted my first attempt at using Blenders Skin Modifier HERE. Once the base shape was created I retopologized the mesh using the blender add-onRetypoFlow.
Render test one. I created a web alpha in photoshop and projected them onto images planes in Maya. Here is a test render:
The web is, in all honesty, not very believable, the spiders joints are way to bright and the lighting isn't the best. I decided to do a test without a background or hair:
This is a test for instancing grass with Mash in Maya. Very simple. Very quick. The settings are low and the render took next to no time. Perfect for previewing.
Oh how I am going to love using mash... and it has a python node!
I recently delved into writing some math nodes for Maya with python, (and compiling them in c++), with the idea of building something like what Rhino has with Grasshopper. It's turning into an excellent learning exercise. However, mash already has a lot of what I always wanted Maya to have. So... fun times ahead.
To test out some instancing using Maya's Mash:
1. Paint Effect for grass - converted to polygon quads;
3. I thought I would throw in an old skull I poly modeled a long time ago. I decimated it in Zbrush, instead of using a displacement, and gave it a Vrays SSS shader. Here is a time-lapse of the Maya session:
4. In mash I instanced the grass over a plane and created a falloff object to mute the grass around the skull within a strength node. I also added a random node to the mix.
There is so much artistic control with this kind of procedural approach. Change, add, swap, blend, randomize, mute, duplicate etc.
Another learning exercise - this time a recreation of a room from Home Design Magazine by Catherine Whitting - an Eco Interior. I changed alot of details but kept the overall color scheme and basic furniture arrangement.
As a learning exercise I've decided to model, texture and render a number of photos. The process will hopefully improve my rendering by giving me instant feed back on real world lighting and shading. The first photo I decided to replicate is a photo I found in a copy of "Home Beautiful". It's the kitchen from the movie "Something's Gotta Give".
There are quite a few things that are incorrect. Most notably the modeling was a bit rushed resulting in inaccurate
beveling details and, to save time, my render settings were
rather low resulting in all the grainy noise.
It's a learning exercise so no need for perfection.
All modeling was done in Maya and rendering in Vray for Maya.
Here is my final render:
Here is the wire-frame for modeling:
Here is the lightbalance:
If I were to re-render the scene I have a good idea about what would need changing to up the realism and create a better match.
Here is the photo I was attempting to replicate: Link
I recently completed the lessons for the "Learn Vray" course - (visit www.learnvray.com). It teaches a simple yet powerful method for creating realistic Architectural renderings. The principles are broadly useful for simulating photographic images of all sorts and in any render engine.
Here are my renders for the course scenes - completed in V-Ray for Maya: